
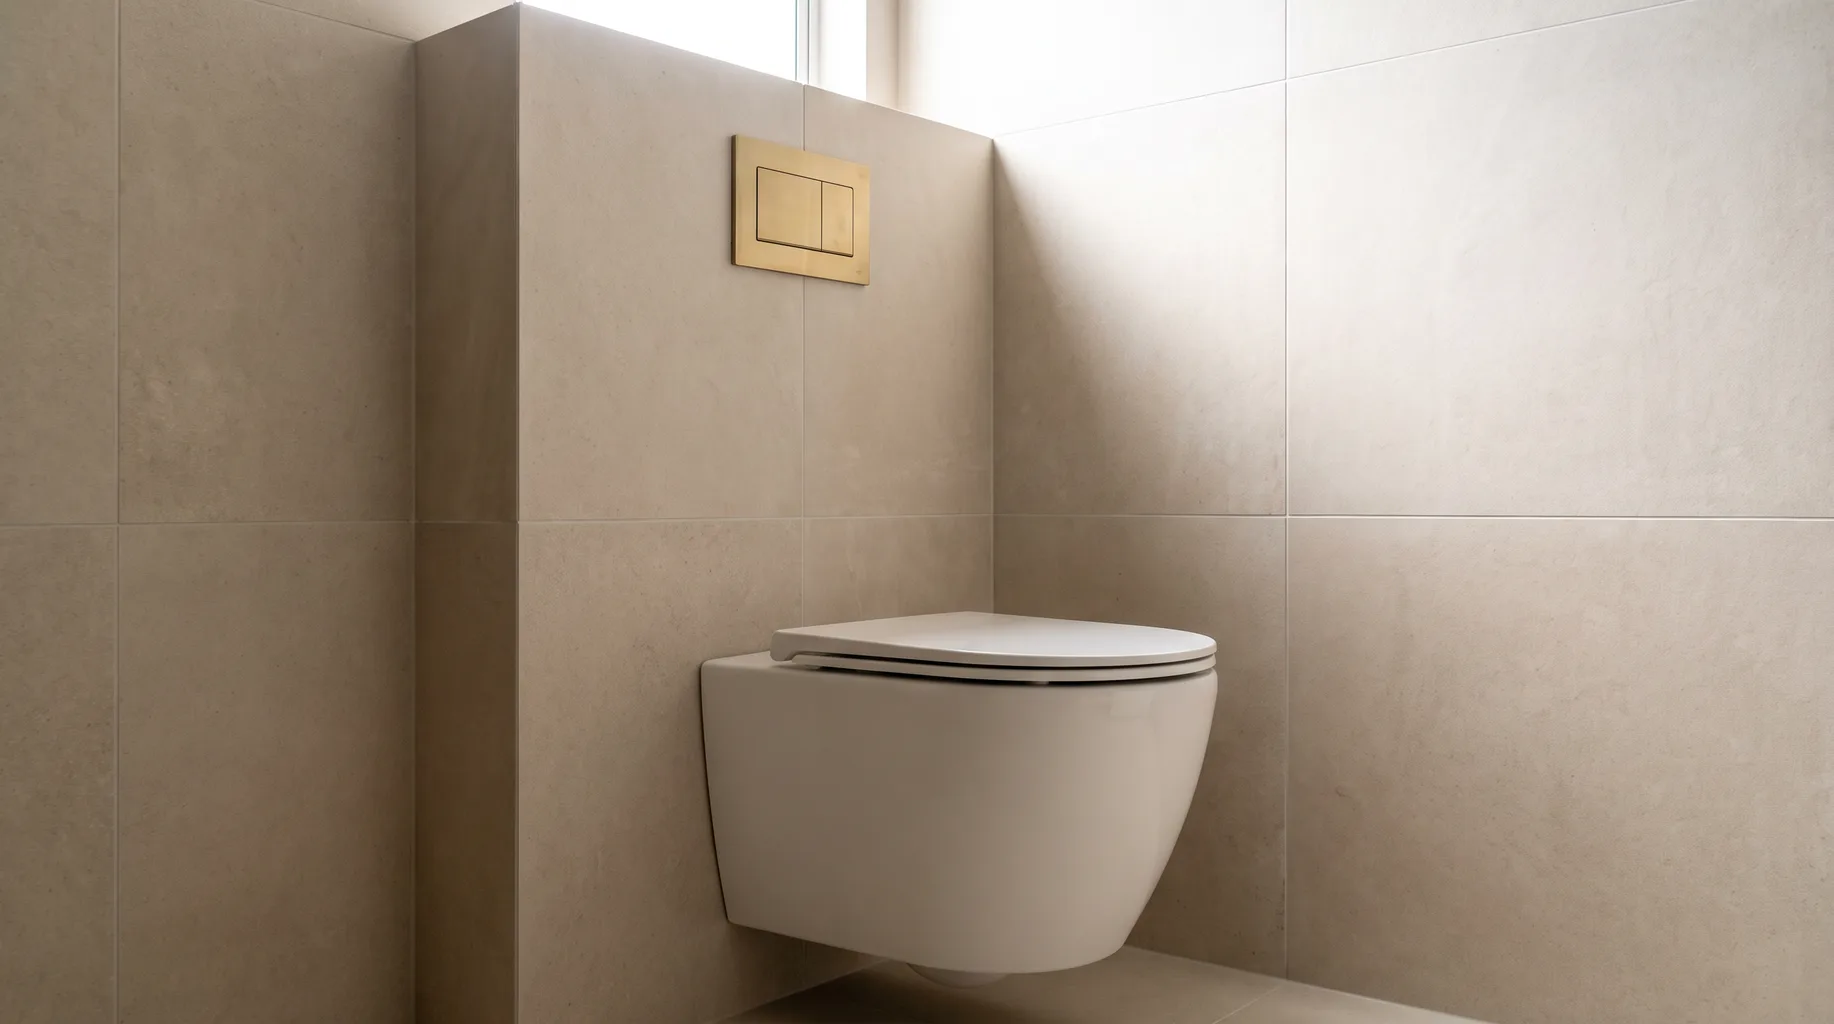
Wall-Hung Toilet & Concealed Cistern Installation
A wall-hung toilet looks weightless because the real structure is hidden — a steel carrier frame bolted into the floor and wall, bearing the load the pan only appears to carry on its own. Get the frame and duct wrong and no amount of careful tiling fixes it later. From £3,500.
It's now the standard specification in almost every higher-end bathroom we fit, for the simple reason that the gap beneath the pan makes the floor easier to clean and the room look less cluttered — but that clean look depends entirely on structural work most clients never see. We're asked about this installation at least as often as any single other item on a bathroom specification, usually because clients have seen it in a hotel or showroom and want the same uncluttered feel at home.
What's included
A concealed cistern installation is really two jobs in one — a structural frame that has to be fixed correctly first time, and a finished duct face that needs to look seamless once tiled. We treat both with equal care, since a mistake in either shows up eventually.
- — Carrier frame installation, bolted to the floor and to a solid wall or noggin, not reliant on the finished surface
- — Concealed cistern fitting inside the frame, with supply and waste connected and pressure-tested
- — Stud or block duct built in front of the frame, sized correctly for the cistern and access panel
- — Set-out of pan height and projection to match the specified model before tiling closes the duct
- — Tiling of the duct face, with the flush plate or access panel positioned and sealed cleanly
- — Pan fitting onto the frame brackets, with a load check before final sealing
- — Flush mechanism test and snagging walkthrough, confirming access panel operation
Where a bidet function, shower toilet seat or other electrical accessory is specified alongside the pan, we also coordinate the additional supply and electrical work needed within the same duct, so nothing needs opening up again later. This kind of coordination is one of the genuine advantages of planning the whole room as one project, rather than separate trades each solving their own piece of the job in isolation.
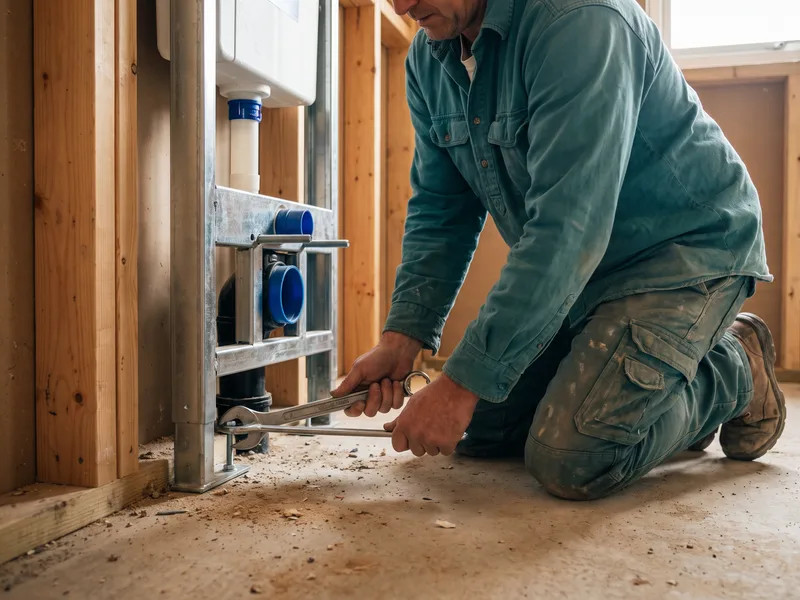
How it runs
- 1 Survey (£125). Available duct depth, floor and wall fixing points, and waste route are checked against the frame and pan you're considering.
- 2 You order the frame, cistern, pan and flush plate. We confirm the frame model is compatible with the pan's fixing centres before you buy — not every pan fits every frame.
- 3 Frame installation and first fix. Frame bolted in, cistern connected and pressure-tested, duct built around it to the confirmed depth.
- 4 Tiling and access panel. Duct face tiled, flush plate and access panel set in cleanly for future serviceability without disturbing the tiling.
- 5 Pan fitting and snagging. Pan hung on the frame brackets, flush tested, load checked, final walkthrough with you present.
Technical standards
The carrier frame is fixed to the structural floor and to a solid wall or a noggin built specifically for that purpose, rated well beyond normal domestic loading. Pan fixing centres and projection depth are checked against the frame manufacturer's specification before the duct is closed up, because a mismatch only becomes visible — expensively — once the tiling is finished. The cistern is pressure-tested before the duct face is tiled over, and the access panel is positioned so a future repair needs no retiling at all.
Where the carrier sits against a party wall or a wall shared with a living space, we take basic steps to reduce flush noise transmission, discussed at survey if it's relevant to your layout.
The duct itself is built to a consistent, checked depth across its full width, not just at the points where the frame sits — an uneven duct depth is a common cause of a tile line that doesn't sit flush with the surrounding wall once finished.
We also check the cistern's internal volume calibration before closing the duct, confirming the dual-flush markings correspond to a genuinely different water volume rather than a cosmetic button split — a detail that matters for households conscious of water usage and increasingly relevant given ongoing supply pressures in parts of the region.
Choosing a frame, cistern and flush plate
Carrier frames vary in duct depth requirement, floor-fixing versus floor-and-wall-fixing design, and maximum load rating — some are better suited to a stud partition wall, others need a solid masonry wall to anchor into properly. The cistern itself varies in flush volume options, typically dual-flush with a reduced-volume option for water efficiency, and in how the fill valve and flush mechanism are serviced through the access panel.
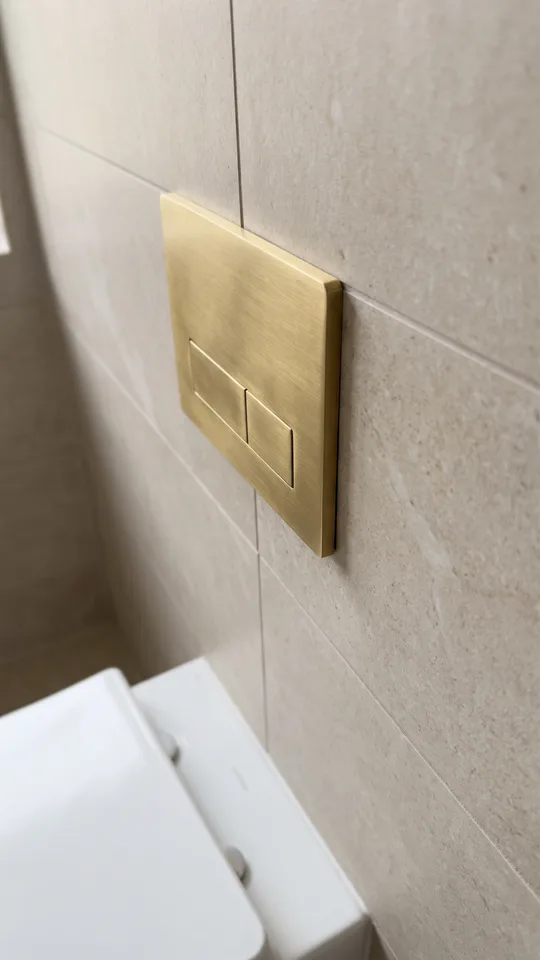
Flush plates range from simple dual-button designs to larger panel-style plates and, increasingly, sensor-operated or app-connected options. Each has different access panel size requirements, so the plate needs choosing before the duct opening is finalised, not after tiling has already set the opening size.
Sensor and app-connected flush plates need a power supply routed to the duct at first fix, usually a low-voltage transformer rather than mains directly at the plate — a detail worth confirming at survey if you're considering this type of plate, since it changes what first-fix electrical work is needed before the duct is closed up.
Our Geberit vs Grohe concealed cisterns comparison covers the two most common systems we fit and where they genuinely differ in practice, beyond marketing claims.
Converting from a floor-standing toilet
Most of the conversions we carry out start from an existing floor-standing close-coupled toilet, where the cistern sits visibly on the back of the pan. Converting to a wall-hung, concealed arrangement means losing that visible cistern and gaining a false wall or duct in its place — typically somewhere between 120mm and 200mm of additional depth depending on the frame chosen, which reduces the room's floor area by a modest but real amount.
In a small cloakroom or compact en-suite, this reduction matters more than in a larger family bathroom, so we'll always measure the actual available depth at survey and confirm whether a slimmer frame option exists that still meets the weight and access requirements — some ranges offer a reduced-depth frame specifically for tighter rooms, at a modest trade-off in access panel size.
The waste route also needs checking during a conversion — a floor-standing toilet typically uses a different outlet height and position to a wall-hung pan, so the soil pipe connection is usually adjusted as part of the first-fix work rather than assumed to line up without any changes.
On an older property, we sometimes find the existing soil stack itself is undersized or in poor condition once the floor is opened up — not something visible until the old fittings are removed. We'll always tell you straight away if this turns up, along with a clear cost and time impact, rather than quietly working around a problem that should be fixed properly while the floor is already open.
What you supply
The carrier frame, cistern, pan, seat and flush plate are bought by you — see our Geberit vs Grohe concealed cisterns guide and our where to buy guide. Confirm pan and frame compatibility before ordering either separately — fixing centres differ between manufacturers, and a pan that doesn't match the frame is a problem discovered only once the duct is already built.
If a shower toilet or bidet function is being specified instead of, or alongside, a conventional pan, check our Toto vs Geberit shower toilets comparison before ordering, since these units have additional power and water supply requirements that need confirming at survey ahead of first fix.
It's worth checking the flush plate finish against your taps and towel radiator before ordering — chrome, brushed nickel, matte black and brass finishes are all common now, and a mismatched finish on the one fitting positioned at eye height on the wall is more noticeable than most people expect once the room is finished.
Related services
Related guides
Areas served
Frequently asked questions
A carrier frame — a steel or reinforced frame bolted to the floor and wall that actually bears the weight, with the cistern mounted inside it. The toilet pan simply hangs on brackets fixed to that frame, not on the plasterboard or tiling.
A correctly installed carrier frame is rated well in excess of normal domestic use, typically 400kg or more, because the load path goes through the frame into the floor and wall structure rather than relying on the finished wall surface at all.
Yes — every concealed cistern has an access panel, either the flush plate itself or a separate inspection panel, positioned and sized at installation so a plumber can reach the valve and mechanism without removing tiles.
Most frames need around 150–200mm of depth once finished, which is built as a stud duct or block wall in front of the original wall — this needs planning into the room layout at survey, since it does reduce usable floor area slightly.
Yes — the gap beneath the pan means no base trapping dirt and grime at floor level, which is part of why wall-hung units are now the standard choice in higher-end bathroom fit-outs.
Generally yes, provided there's a wall available to build the carrier duct against and the waste route still works with the new pan height — this is assessed at survey rather than assumed possible in every layout.
Most concealed cisterns are designed for the flush valve and fill mechanism to be replaceable through the access panel alone, without disturbing tiling or the carrier frame — one of the main advantages of a quality carrier system over a cheaper alternative, and worth checking before you choose a specific product.
No — fixing centres and the pan's waste outlet position vary between manufacturers, so the frame and pan need to be confirmed as compatible before either is ordered. We check this against the manufacturer's specification at survey rather than assuming cross-brand compatibility.
On its own, allow around 3–5 days for the frame, duct build, tiling and pan fitting once drainage and wall condition are confirmed. It's rarely installed in isolation though, so timing is usually folded into the wider bathroom or cloakroom programme.