
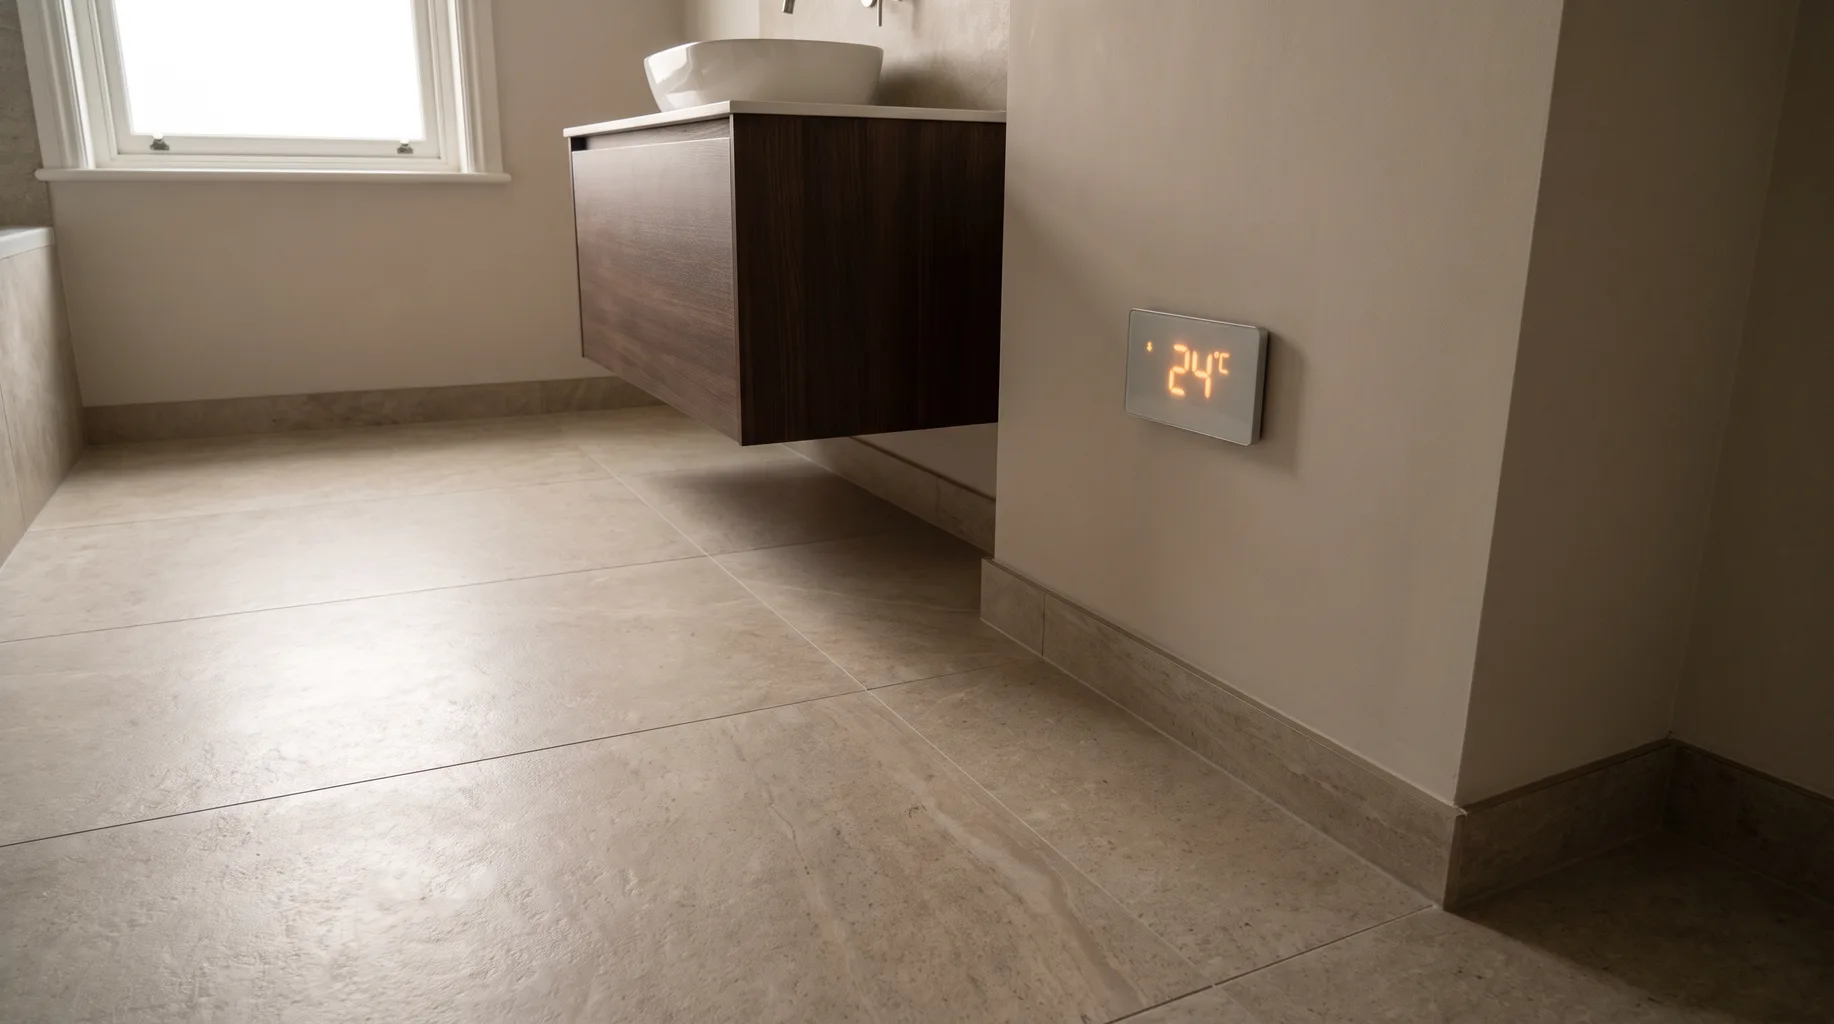
Underfloor Heating Installation
Underfloor heating has to be sized to the room, suited to electric or wet depending on the build-up available, and commissioned gradually once the tile adhesive has cured — not switched straight to full heat on day one. From £3,500.
A cold tiled floor is one of the most common complaints we hear about an otherwise well-finished bathroom, and underfloor heating is the fix most clients ask for once they've lived with it. The system itself — mat, cable or pipe — is only half the job; getting the floor build-up, insulation and control right is what decides whether it actually warms the room or just takes the chill off the tile surface, particularly first thing in the morning when the difference is most noticeable.
What's included
The scope below covers an electric mat installation, which is what most bathroom refits specify; a wet system follows the same principles but adds pipework first-fix and a connection to the central heating manifold.
- — Floor preparation and insulation board fitting to reduce heat loss downward
- — Mat or cable layout planned around fixed fittings (WC, vanity unit) that don't need heating beneath them
- — Electrical connection by a registered electrician, including the floor sensor and thermostat
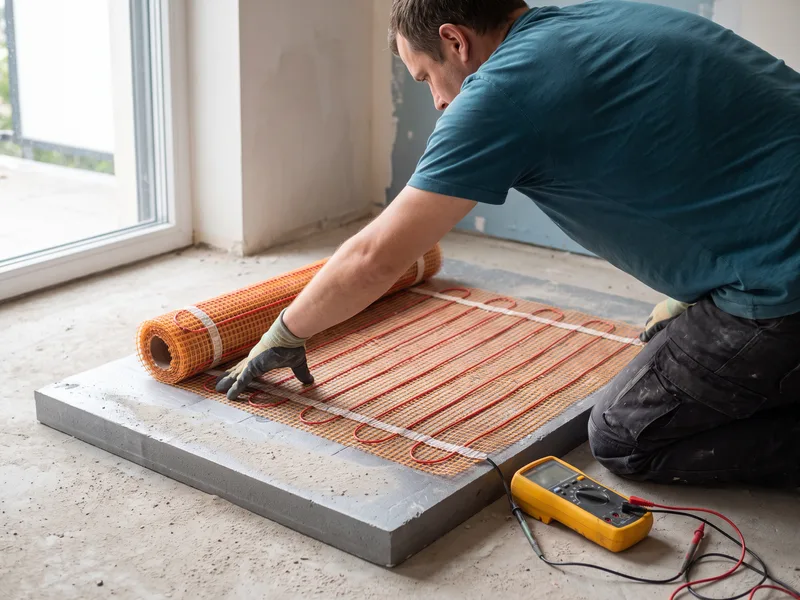
- — Continuity and insulation resistance testing before any tile adhesive is applied over the mat
- — Coordination with the tiling schedule so adhesive and grout are given correct cure time
- — Gradual commissioning of the system once tiling has fully cured
- — Thermostat programming and handover talk-through
Electric or wet: which suits your project
Electric underfloor heating is the right call for the majority of bathroom refits. It has a low build-up height, so it rarely causes a problem with door thresholds or adjoining floor levels, it's cheaper to install, and for a room that's only occupied for short periods each day, its slightly higher running cost per hour isn't usually significant. It's also the only realistic option when retrofitting into an existing floor without opening up the whole structure.
Wet underfloor heating costs more to install because it needs pipework, a manifold, and usually a screed floor build-up, but it runs more cheaply over time and suits a larger bathroom or a full renovation where the floor is already being rebuilt from joist level. If you're planning a full strip-out and the budget allows, it's worth discussing at survey — but retrofitting a wet system into a finished floor rarely makes sense once the build-up height is accounted for. See our electric vs wet underfloor heating guide for the full comparison.
There's a middle ground worth knowing about too: low-profile wet systems with thinner pipework and a reduced screed depth, designed specifically for renovation projects where a full structural floor build-up isn't practical. They cost more than electric mats and still need a connection to the heating system, but add less height than a conventional wet install. We'll discuss whether this fits your floor at survey if a wet system is what you're leaning toward.
How it runs
- 1 Survey (£125). Floor construction, available build-up height and electrical capacity are checked against electric and wet options.
- 2 Insulation and layout. Insulation board is fitted and the mat or pipe run planned around fixed fittings.
- 3 Fitting and testing. The system is laid, connected, and electrically tested or pressure tested before anything covers it.
- 4 Tiling over the system. Floor tiling proceeds once the heating element is confirmed intact and protected from damage during laying.
- 5 Cure and commission. Once adhesive and grout have fully cured, the system is brought up to temperature gradually and the thermostat programmed.
Technical standards
Electric heating mats and cables are tested for continuity and insulation resistance before installation, immediately after laying, and again before and after tiling — a check that's recorded at each stage, because a damaged element found after tiling means lifting tiles to repair it, whereas one found before is a straightforward fix. Electrical connections and the thermostat are installed by a registered electrician as Part P-notifiable work.
Commissioning follows the tile adhesive and grout manufacturer's stated cure time, typically a minimum of several days depending on the product, before any heat is applied — applying heat too early is a common cause of cracked grout and debonded tiles, and it's avoidable simply by waiting. Once cure time has passed, temperature is raised gradually over a day or two rather than set straight to maximum, particularly under natural stone, which responds more slowly to temperature change than porcelain and is more prone to thermal stress if heated too quickly.
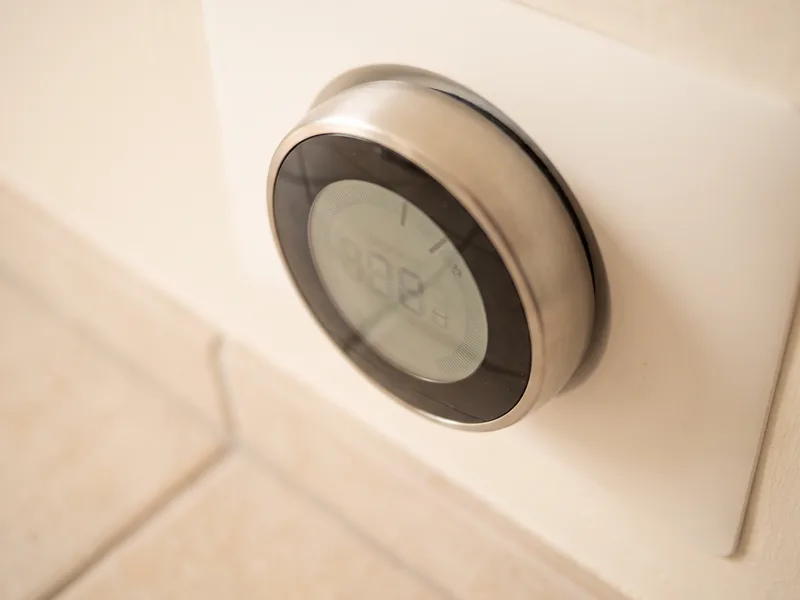
A floor sensor is used in preference to an air sensor alone, so the thermostat regulates based on actual floor surface temperature and won't allow the floor to exceed a safe maximum for the tile or stone and adhesive system used. Two sensors are fitted where the room has mixed flooring or a particularly large area, so one zone's reading can't skew the heat delivered to another part of the same floor.
Common mistakes we see on previous installations
The most frequent fault we're called to investigate is a mat that was never properly recorded — no photograph of the layout, no continuity reading taken before tiling, and no indication of where the sensor cable or joints sit beneath the floor. When something later needs drilling into, nobody knows what's underneath. We photograph and record every heated area before covering it, and keep that record with the job file so any future work — a new vanity unit, a shelf fixed to the floor, a plumbing alteration — can avoid damaging a live cable.
The second common fault is heating laid under fixed furniture, such as beneath a vanity unit or WC pan, where it serves no purpose and simply wastes energy and shortens the system's working life through heat it can't usefully dissipate. We map the layout against the final fitted positions at survey stage, not after the floor's already down, so heating only goes where it's actually needed. A third, less obvious issue is a thermostat set without a floor temperature limit, left to run on an air sensor alone — over months this can push certain adhesives and natural stone beyond their tested range, which is why we always commission with a floor sensor and a sensible upper limit in place.
What affects the price
Electric underfloor heating as part of a full bathroom refit, where the floor is already being tiled, adds relatively little to the overall project. A wet system costs considerably more due to the pipework, manifold and screed involved. Room shape also matters: an irregular floor plan with multiple fixed fittings to route around takes longer to lay than a simple rectangular room, and a split-level floor or a step up into a shower area adds further layout complexity. We confirm the specific figure at survey once floor area and system type are agreed.
What you supply
The underfloor heating kit (mat, cable or wet system) and thermostat are typically specified and supplied as part of our installation given how closely the system has to match the floor area and tile type, but if you've already sourced one, bring the full spec — output, cable spacing and thermostat model — to survey so we can confirm it's compatible with your floor build-up and chosen tile or stone.
If supplying your own tiles or stone separately, confirm maximum operating temperature with the manufacturer, since some natural stone and engineered products have specific limits that the thermostat needs to be set within.
Where the thermostat is being chosen separately — a smart, app-controlled model rather than a basic dial — check it's compatible with the mat or cable's sensor type before ordering. Some smart thermostats expect a two-wire floor sensor and won't read correctly from older three-wire sensors still supplied with certain mats, which is a mismatch better caught before delivery than on install day.
Related services
Related guides
Areas served
Frequently asked questions
Electric mats suit most bathroom refits: low build-up height, straightforward to install under tile, and cost-effective for a single room. Wet (water-fed) systems cost more to install and need connecting into the central heating, but run more cheaply over time and suit a full renovation where the floor's already being built up. We cover the full comparison in our electric vs wet underfloor heating guide.
Electric mats typically add only a few millimetres on top of the insulation board and adhesive. Wet systems need a screed or low-profile system laid over the pipework, which adds considerably more — this is checked at survey against your door thresholds and adjoining floor levels before work starts.
Yes, both take underfloor heating well, though natural stone's higher thermal mass means it takes longer to warm up and cool down than porcelain. We factor this into the control settings so the room reaches temperature in good time rather than running hotter than needed to compensate.
On a well-insulated floor in a smaller room, sometimes. For larger bathrooms, rooms with extensive glazing, or where the floor's thermal output alone can't realistically meet target temperature, we recommend it alongside a heated towel radiator rather than as the sole source — we calculate this at survey rather than assuming either way.
Yes, and ideally one with a floor sensor rather than just an air sensor, so the system responds to actual floor temperature and doesn't overheat natural stone or certain adhesives. We fit and commission the thermostat as part of the installation.
Not if it's installed and commissioned correctly. The main risk is thermal shock from heating the floor too quickly after tiling, which is why we follow the adhesive and tile manufacturer's curing times before commissioning the system, gradually bringing it up to temperature rather than switching straight to full heat.
This is rare if continuity and insulation resistance are checked at each stage before covering, which is exactly why we test repeatedly during installation rather than once at the end. If an element does fail later, a recorded layout and photographs taken during installation let a fault be located without lifting the entire floor to find it.