
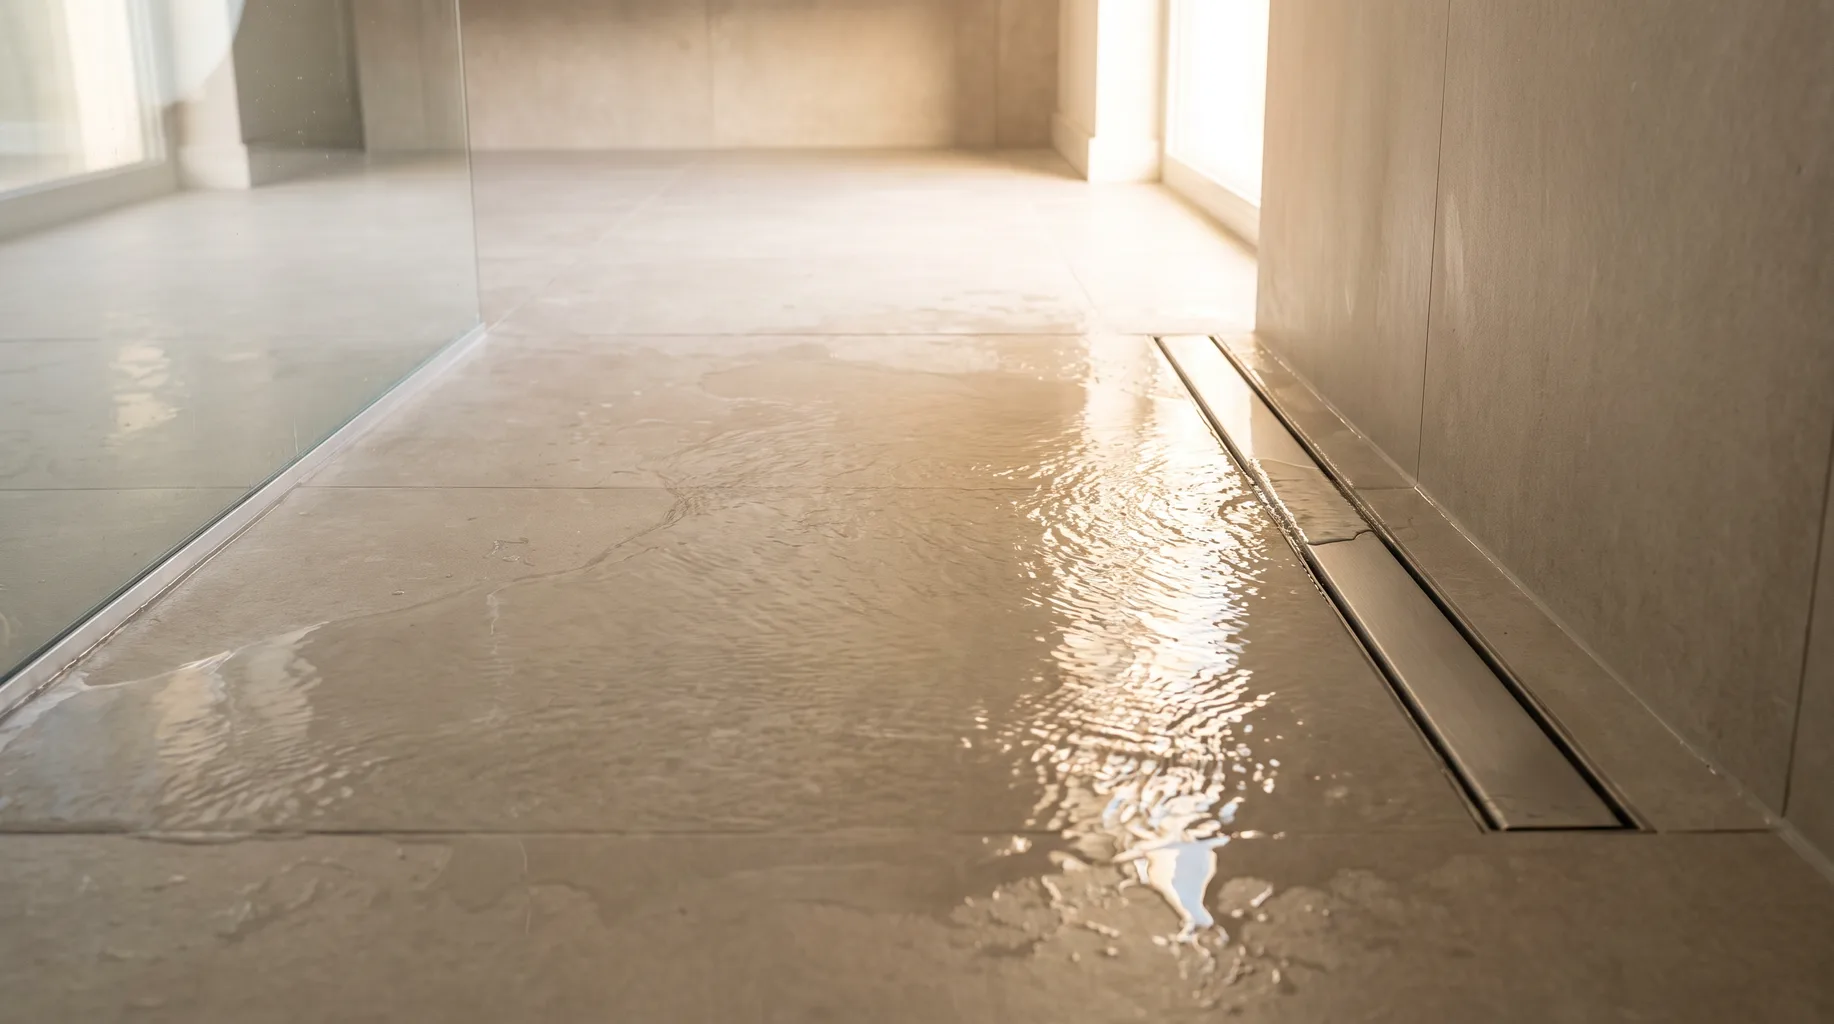
Tanking & Waterproofing
Tanking is the waterproof membrane system that sits beneath every tiled wet area — formed over correctly sloped falls, reinforced at every corner and pipe penetration, and left to cure fully before a single tile goes down. From £3,500.
The layer you'll never see again
Tiles and grout are not, by themselves, waterproof — grout in particular is porous, and over years of daily use even well-maintained grout lines allow some moisture through to whatever's behind them. Tanking is the membrane system installed beneath the tiling that actually stops water reaching the structure: the timber floor, the stud wall, the ceiling of the room below. Once tiling goes down, the tanking is sealed in permanently, which is exactly why it has to be right before that happens — there's no inspecting or repairing it afterwards without taking the finished room apart.
We treat tanking as a distinct trade in its own right rather than a quick coat applied in passing before tiling starts. Falls are formed in the floor build-up first, the membrane is applied in the correct number of coats with proper cure time between them, and every corner, junction and pipe penetration is reinforced before anything is tiled over it.
What's included
- — Falls formed in the floor build-up before any membrane is applied, not adjusted afterwards
- — Full-height membrane within shower enclosures, with a minimum upstand elsewhere in the room
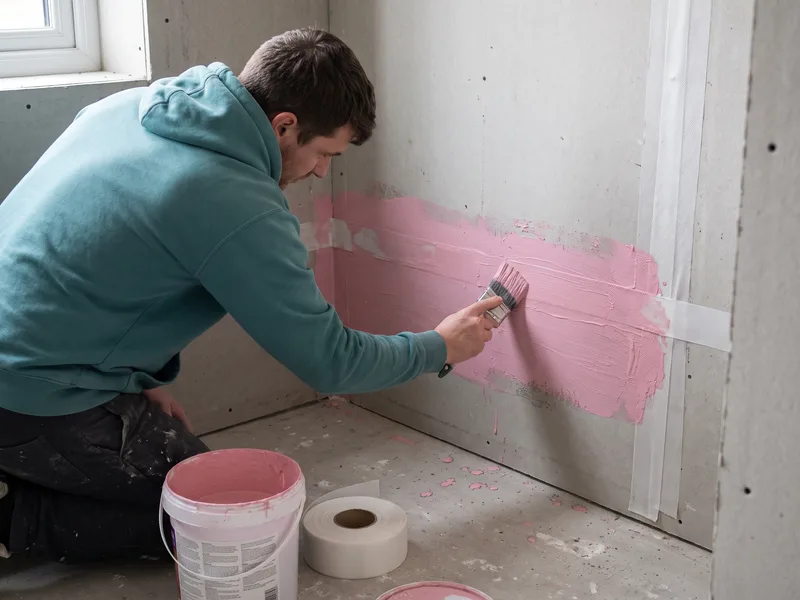
- — Corner and junction reinforcement using membrane tape or fabric, bonded into the main coating
- — Pipe penetrations and drain collars sealed with purpose-made fittings compatible with the membrane
- — Correct cure time between coats and before tiling, per the specific product's data sheet
- — Flood testing of wet room floors where practical, before tiling begins
How it runs
- 1 Survey. Floor build-up, joist depth and drain type assessed, and the tanking system specified to suit the room — enclosure, wet room, or both.
- 2 Falls formed. Floor build-up shaped to fall correctly to the drain before the substrate is primed.
- 3 Membrane applied. Coats applied in sequence with the correct cure time between each, corners and penetrations reinforced as the system builds up.
- 4 Testing. Flood test where practical, confirming the membrane holds before anything is built on top of it.
- 5 Tiling. Only once the membrane has fully cured, with adhesive confirmed compatible with the specific tanking product used.
Technical standards
Our tanking follows current waterproofing guidance for wet areas set out in BS 5385, with full-height protection within shower enclosures and a minimum upstand of at least 100mm maintained elsewhere in the room. Falls to drain are set within the floor build-up before the membrane goes down — adjusting a fall after tanking is complete means removing and redoing the membrane, so this sequence is never reversed.
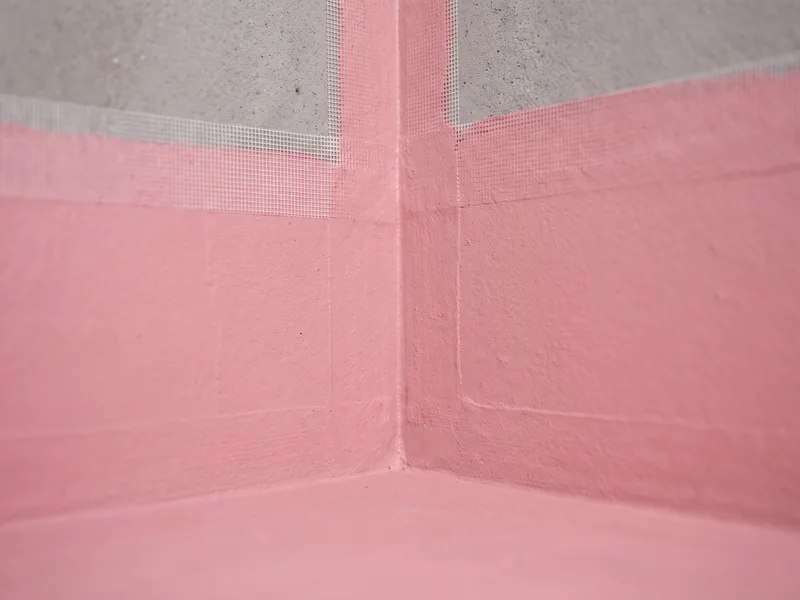
Every internal corner, every junction between floor and wall, and every pipe or drain penetration is reinforced with membrane tape or fabric bonded into the main coating — these points are consistently where a tanking system is most likely to be compromised if rushed, since a flat membrane coat alone doesn't flex or bond reliably across a sharp angle or around a pipe.
Cure times between coats, and before tiling begins, follow the specific product's data sheet rather than a single assumed figure — this varies between cementitious, liquid-applied and sheet membrane systems, and rushing it is one of the more common causes of early tanking failure in poorly managed installations. Tile adhesive is checked for compatibility with the membrane before it's selected, since some adhesives can react with or fail to bond properly to certain membrane surfaces.
Where tanking usually goes wrong
Almost every tanking failure we're asked to investigate traces back to the same small set of causes: insufficient cure time before tiling, a corner or penetration left unreinforced, a fall that was adjusted after the membrane was already down, or a membrane applied over a substrate that wasn't actually sound. None of these show up immediately — a membrane that hasn't fully cured can still look finished and pass a cursory glance, and a problem corner might not leak for months or years until enough water has found its way through.
This is why we treat tanking as a sequence with fixed steps rather than a single application to tick off quickly on the way to tiling — each stage depends on the one before it being done properly, and there's no shortcut that doesn't eventually show up as a problem somewhere in the structure.
Sheet membrane vs liquid-applied systems
Tanking isn't a single product — it's a category of system, and the two most common approaches behave differently on site. Sheet membranes are a flexible, bonded material rolled out and adhered to the substrate, with joints overlapped and sealed; they're forgiving of minor substrate irregularities and give a consistent, known thickness across the whole area. Liquid-applied membranes are painted or trowelled on in multiple coats, building up thickness as they cure, and are generally better suited to complex shapes, upstands and junctions where a sheet would need excessive cutting and seaming.
In practice, many installations use a liquid system across the main floor and walls, reinforced with a fabric band at every corner and junction, since this combination suits the irregular geometry of a typical bathroom better than sheet membrane alone. We specify whichever system suits the room's geometry and the chosen drain type, rather than defaulting to one product regardless of the layout.
Tanking alongside underfloor heating
Where a wet underfloor heating system or an electric heating mat is being installed in the same floor build-up, the sequence and compatibility between the heating element and the membrane matters. Some tanking products are designed to be applied directly over a heating mat; others need the mat embedded in a levelling compound first, with the membrane applied over a cured, flat surface above it. Getting this sequence wrong can mean a membrane that doesn't bond evenly, or a heating element that's damaged during the tanking stage.
We confirm the specific heating product's installation requirements against the tanking system at survey, so the two are sequenced correctly rather than treated as two unrelated trades competing for the same floor build-up.
Why it matters more above an occupied room
A ground-floor cloakroom over a solid slab has a different risk profile to an en-suite built above a bedroom or a kitchen ceiling. Where a bathroom sits above another room in regular use, a tanking failure doesn't just mean localised damage to the bathroom's own floor — it means water tracking into the ceiling below, often appearing as a stain well away from the original source, which is far more disruptive and expensive to put right. We're no less thorough on a ground-floor room, but we flag this context clearly where it applies, since it's a reasonable factor in deciding how much to invest in a higher-specification membrane system.
What you supply
Tanking and waterproofing materials are specified and supplied by us as part of the installation, since the membrane system has to be matched correctly to the floor build-up, the drain type and the tile adhesive — it isn't something we'd ask you to source independently. You buy the tiles or natural stone that goes over the top.
If you've already specified underfloor heating, flag this at survey, since the tanking system and the heating mat or pipe need to be compatible and sequenced correctly within the floor build-up. The same applies if you're specifying a particular linear drain — different drain bodies have different membrane collar requirements, and confirming the exact model before first fix avoids having to adapt the detail on site.
Related services
Related guides
Areas served
Frequently asked questions
A standard enclosure needs full-height membrane within the enclosure itself and a lower upstand elsewhere in the room. A wet room needs the membrane extended across the entire floor and up every wall to a consistent height, because the whole room — not just a defined enclosure — is a wet zone.
It depends on the specific membrane product and the number of coats applied — we follow the manufacturer's stated cure time for the system in use rather than a single rule of thumb, and tiling doesn't start until that cure period has passed.
The existing surface needs to be sound, flat and compatible with the membrane system — in practice this usually means removing old tiling and adhesive rather than tanking directly over it, since a membrane applied over a loose or uneven surface won't bond reliably.
Both. The area under and immediately around a shower tray is tanked before the tray is bedded in, in addition to the walls of the enclosure, so any water that finds its way behind the tray edge has nowhere to travel into the surrounding floor.
A properly installed and cured membrane, correctly detailed at corners and penetrations, is designed not to fail under normal use. If a leak does develop, it's almost always traced to a penetration or junction — a pipe collar, a corner joint, a shower tray edge — which is why we pay particular attention to these details rather than just the flat areas.
Where practical, yes — holding water on the membrane for a period before tiling is a direct way of confirming it holds before anything is built on top of it, rather than relying on visual inspection alone.
If the existing membrane is sound and undamaged, and the new tiles are removed and relaid without breaking into the substrate, the original tanking can often remain in place. We'd assess its condition before relying on it for a retiling project rather than assuming it's still intact.