
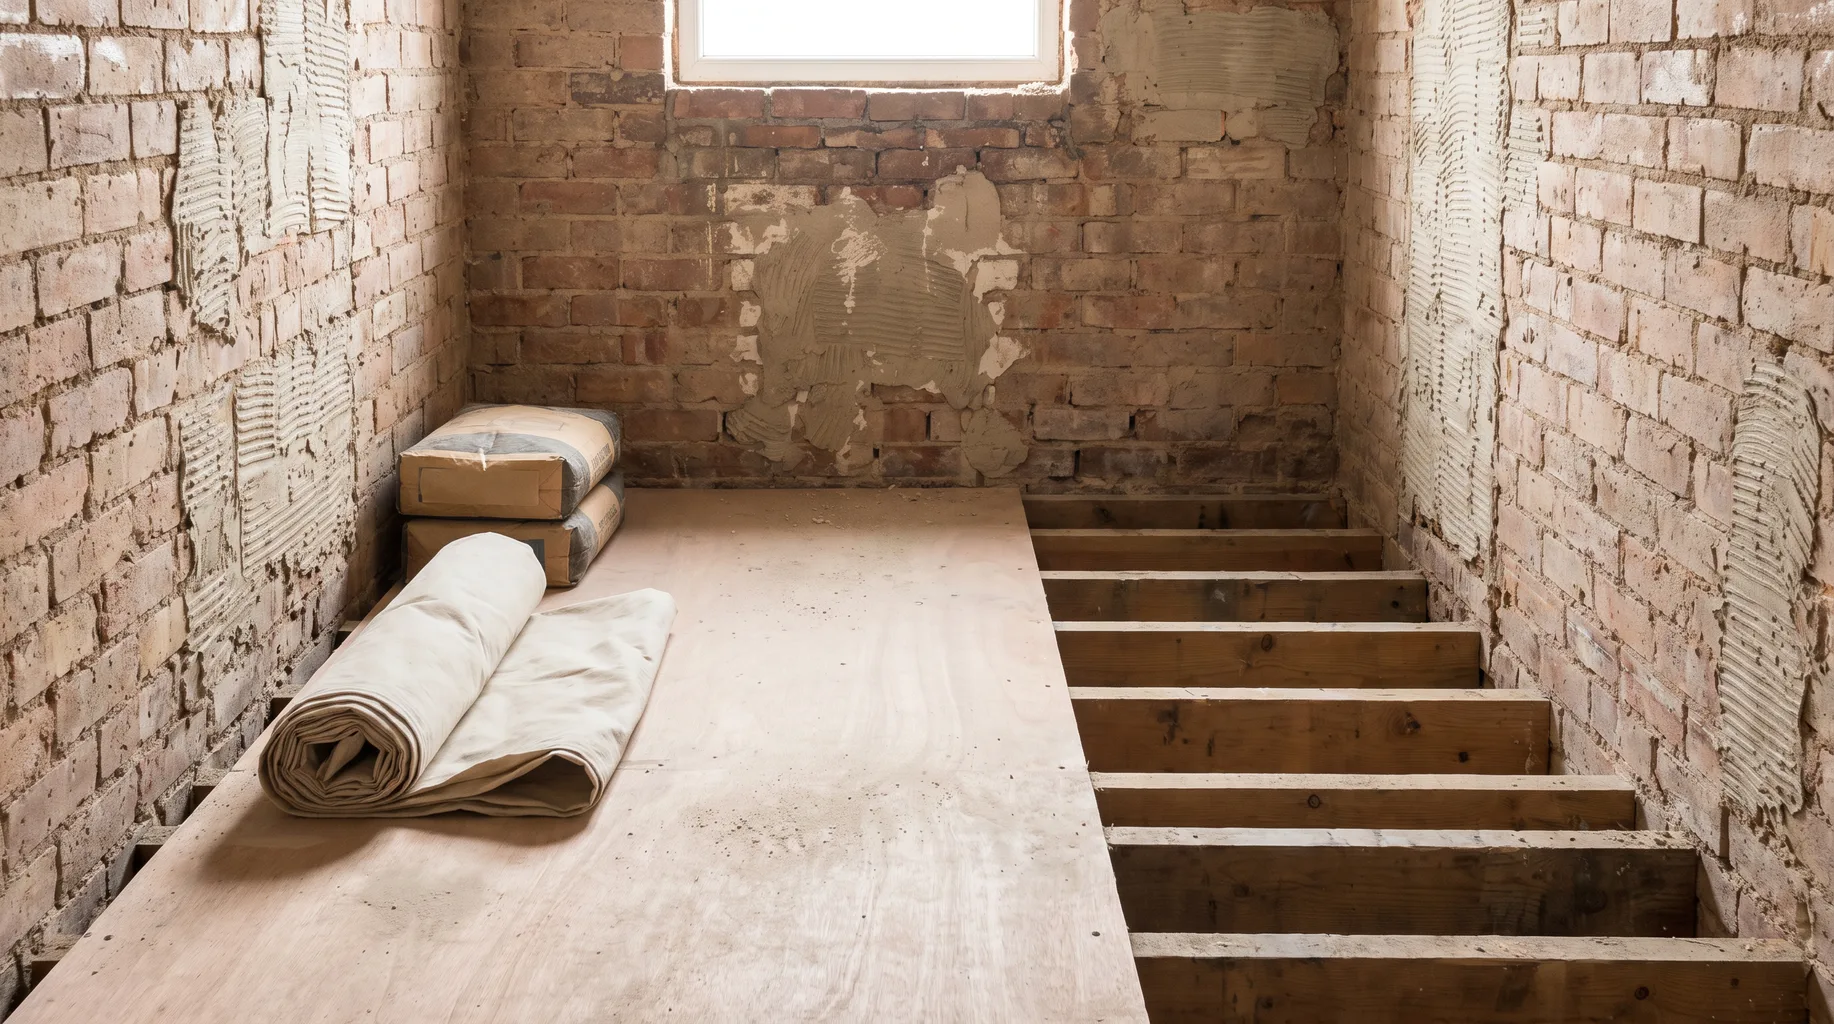
Bathroom Strip-Out & Preparation
Strip-out takes a bathroom back to brick and joist, protects the rest of the house while it does, and checks what's actually underneath before anything new is built on top of it. From £3,500.
The stage that decides what the rest of the job needs
A finished bathroom looks like a clean, confident design decision. What it's actually built on is whatever's behind the old tiling and under the old floor — and until that's exposed, nobody knows for certain whether a joist has sagged, a timber floor has taken on damp from a leaking waste pipe over the years, or the existing screed is sound enough to tile straight onto. Strip-out is where all of that gets found, assessed and, where needed, put right, before any new work is built on top of it.
It's also the messiest and most disruptive stage of the whole project for the rest of the house, which is exactly why we treat it as a managed operation rather than simply "ripping the old bathroom out" — protection goes down before a single tile comes off the wall, and stays in place for as long as debris is moving through the house.
What's included
- — Removal of existing sanitaryware, tiling and flooring back to brick, block or joist
- — Protection of the full route through the house — hallway, stairs, landing — for the duration of strip-out and disposal
- — Disposal of old materials, arranged and removed from site rather than left to accumulate
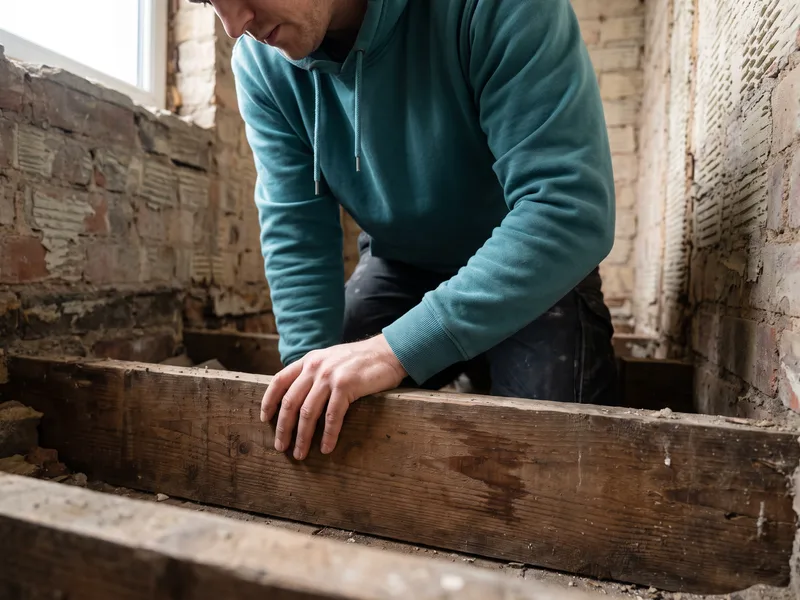
- — Substrate inspection: joist and timber condition, screed soundness, any sign of historic damp or leaks
- — Remedial carpentry or making good where the substrate needs it before first fix begins
- — A clean, prepared room handed over to first fix, with any findings discussed and agreed with you first
How it runs
- 1 Survey. We confirm what's being removed down to, and flag anything visible already — an obviously sagging floor, old staining, a route that will be awkward to protect.
- 2 Protection fitted. Dust sheets and floor protection laid along the whole route materials and debris will travel, not just inside the bathroom.
- 3 Strip-out and disposal. Old suite, tiling and flooring removed and taken from site; disposal arranged and recorded.
- 4 Substrate inspection. Joists, screed and any visible pipework assessed; findings discussed with you before anything is closed up again.
- 5 Making good. Any remedial carpentry completed, and the room handed over clean and ready for first fix.
Technical standards
Timber floors are checked for deflection and general stiffness before any decision is made about tiling over them, since large-format porcelain and natural stone are far less forgiving of floor movement than a smaller-format tile — a floor that feels perfectly sound underfoot can still flex more than a rigid stone floor can tolerate without cracking at the joints. Where that's the case, additional noggins, a stiffer sub-floor board, or a different tile format is discussed with you before proceeding.
Moisture readings are taken on timber and masonry before anything is closed up, particularly around existing waste pipe routes and external walls, since a floor that looks dry can still be carrying residual moisture from a historic slow leak that was never obvious from the finished room above. Waste is disposed of responsibly and in line with waste transfer requirements for construction material.
Where strip-out reveals a suspected hazardous material — most commonly in pre-2000s properties, in older floor tile adhesives or backing boards — work on that area stops immediately. We don't disturb it further; it needs proper identification and, if confirmed, specialist removal before the project continues.
Protecting the house, not just the room
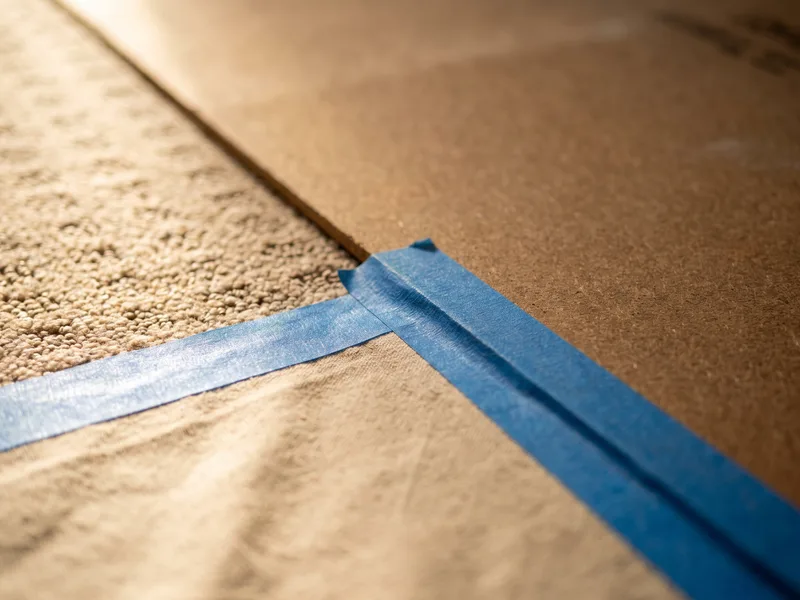
Most damage caused by building work in an occupied home doesn't happen inside the room being renovated — it happens in the hallway, on the stairs, and at doorways, where materials and debris are carried through repeatedly over several days. We treat this route with the same seriousness as the bathroom itself: floor protection boards on hard flooring, dust sheets taped down on carpet, and corner protection on anything the old suite or new materials might catch against on the way past.
This protection stays in place for the whole strip-out and disposal period, not just the first morning, since the risk of an accidental knock or a trail of dust is just as real on day three as it is on day one.
What strip-out most commonly reveals
The most frequent finding behind old tiling is nothing more than old, slightly uneven plaster and a historic adhesive bed that needs removing before a new tiling surface can be formed flat — not a structural problem, just extra preparation time. The next most common finding is a waste pipe joint that's been seeping slowly behind a wall or under a floor for long enough to soften surrounding timber without ever causing a visible leak in the room itself. On older properties with a history of extensions or converted layouts, it's also common to find a mix of pipe materials and ages where previous work has been patched over rather than properly integrated.
None of these are unusual, and none of them typically derail a project — but all of them change the scope slightly from what could be assumed before the room was opened up, which is exactly why strip-out happens before a final price is locked in for any remedial work, rather than being quoted blind from a visual inspection of the finished room.
Disposal, done properly
Old sanitaryware, tiling and flooring generate a genuine volume of waste, most of it heavy — ceramic and stone offcuts, old adhesive beds, timber. We remove this from site and dispose of it through appropriate waste routes rather than letting it pile up in a skip on the drive for the length of the project, which matters both for the look of the property during the work and for keeping access clear for deliveries later in the programme.
Where fittings are still functional and worth salvaging — a radiator, a mirror, occasionally a basin — we'll discuss this with you rather than assuming everything goes straight to disposal.
Why strip-out findings affect the whole programme
Strip-out sits right at the start of the project for a reason: anything found here has a knock-on effect on everything that follows. A floor that needs additional stiffening changes the tiling specification. A waste run that needs rerouting changes the first-fix plumbing plan. A patch of damp masonry that needs drying out before tanking changes the overall timeline. Because of this, we always build in a short period after strip-out to confirm the substrate before committing to exact first-fix positions, rather than running strip-out and first fix as a single uninterrupted stage.
This is also the point in the project where we talk through anything found with you directly — photographs, a clear explanation of what it means, and an honest view on whether it affects cost or timeline, before any further work proceeds.
What you supply
There's nothing specific you need to buy for strip-out itself. If there's anything in the existing room you want kept — a mirror, a radiator, a fitting with sentimental value — flag it at survey so it's removed carefully rather than treated as part of the general clearance. It's also worth deciding in advance whether you want to be present on strip-out day, since this is the point at which any findings behind the old finishes come to light and are easiest to discuss on the spot.
Related services
Related guides
Areas served
Frequently asked questions
A reasonable amount — removing tiling, old flooring and a suite generates genuine dust and debris. We protect the route through the house for the full duration of the strip-out, not just the room itself, and clear disposal from site daily rather than letting it accumulate.
The whole route materials and debris travel along — hallway, stairs, landing — gets dust sheets and floor protection for as long as strip-out and disposal are ongoing, since that's where most incidental damage to a home actually happens, not inside the room being worked on.
We stop and show you what's been found before deciding how to proceed. Most timber or masonry issues found at strip-out are straightforward to make good, but it needs pricing and agreeing before work continues, rather than being absorbed silently into the original scope.
Often, yes, if they suit the new layout and are in sound condition — we assess this during strip-out once the old suite and surrounding tiling are out and the pipework is actually visible, rather than guessing from the finished room beforehand.
Usually 1–2 days for a standard bathroom, more if the room has multiple layers of old tiling, concrete screed, or structural work is needed once the old finishes are off. It's the first stage of the programme we agree with you at survey.
Work on that area stops immediately. Older tile adhesives, floor tiles and some backing boards can contain asbestos in pre-2000s properties, and we don't disturb suspect material further — it needs proper identification and, if confirmed, removal by a specialist, before we continue.
It can, but only where strip-out reveals something that genuinely wasn't visible beforehand — a damp patch, rot, or a pipe run needing rerouting. Any change is discussed and agreed with you before further work proceeds, rather than appearing as a surprise on the final invoice.
In most cases, yes — strip-out focuses on the room itself rather than the structure beneath it, unless a specific finding, such as a leak that's affected the ceiling below, means that area needs opening up too. We'll explain the reasoning if that becomes necessary.