
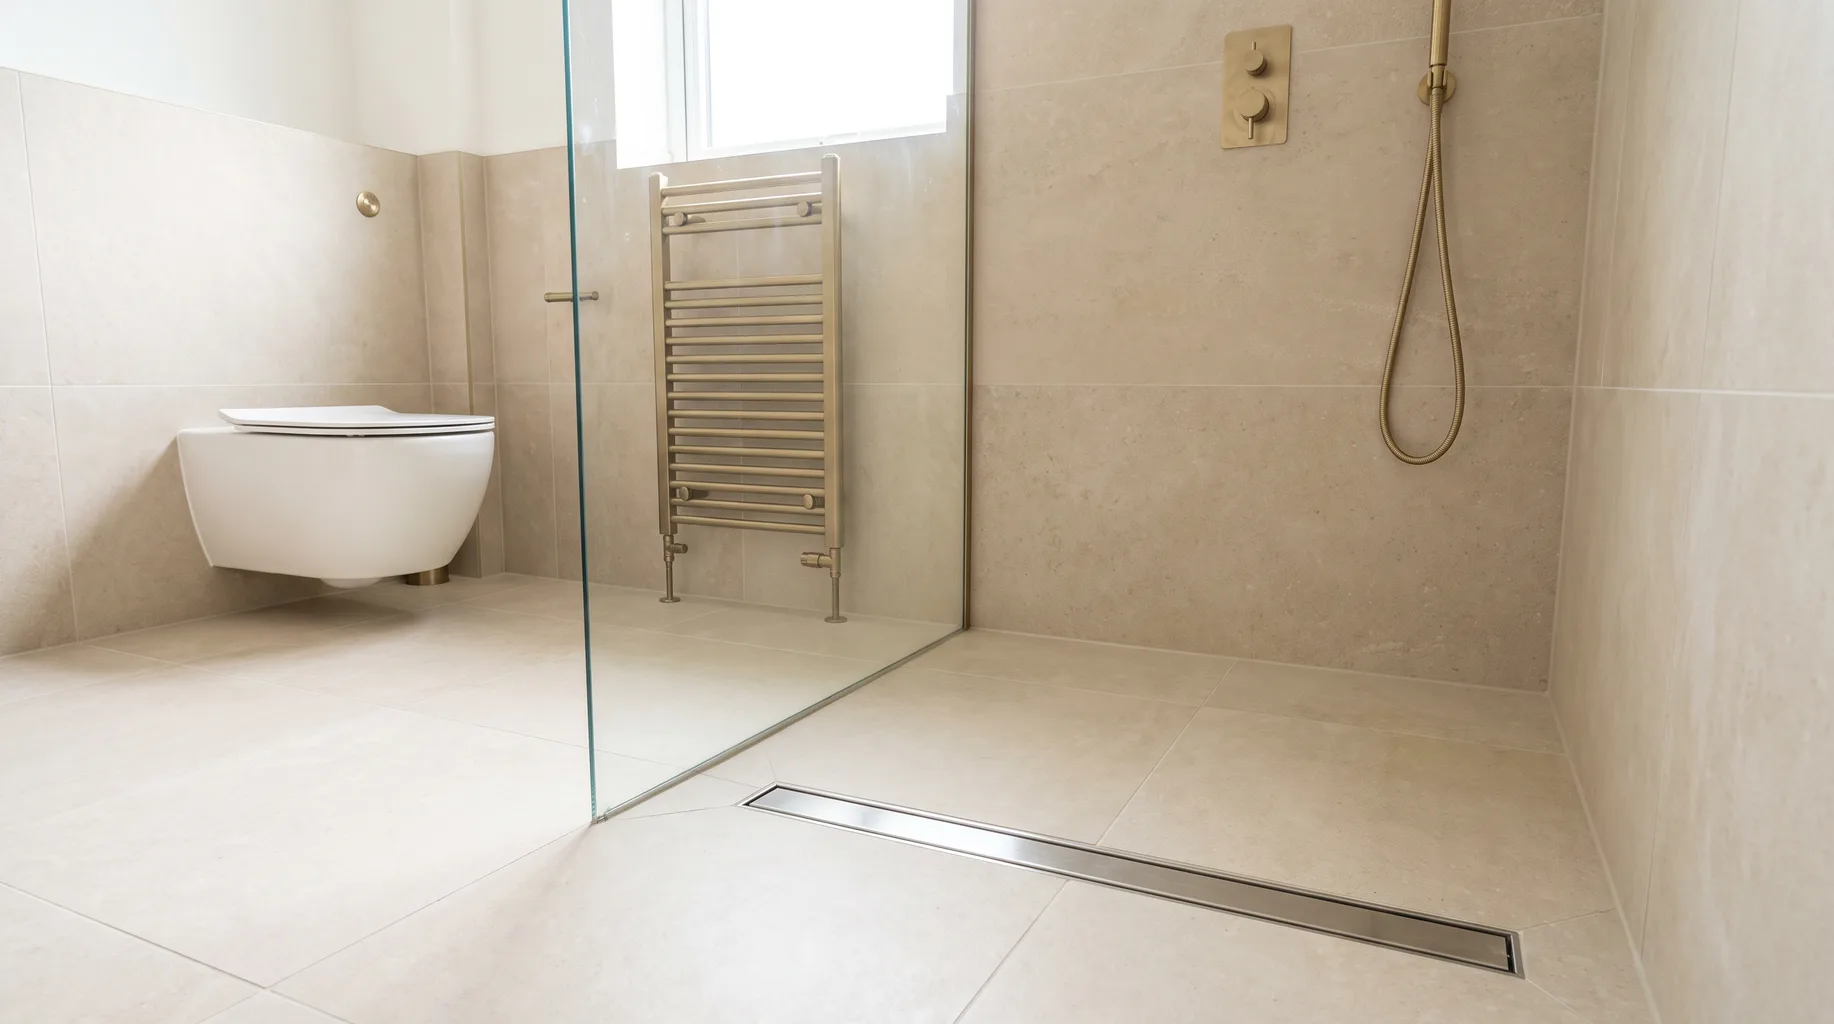
Wet Room Installation
A wet room removes the step and the tray, turning the whole floor into the shower — which means the fall to drain, the floor build-up and the tanking all have to be right before a single tile is laid. From £3,500.
It's a layout that suits level-access living as much as it suits a minimal, uncluttered look, and it's one of the few bathroom formats where the structural work genuinely matters more than the finish — get the floor build-up wrong and no amount of expensive porcelain will fix it afterwards. We see it specified for principal en-suites wanting a hotel-spa feel, for family bathrooms serving a household with young children who are easier to bathe without a tray lip, and increasingly for clients planning ahead for step-free living in a long-term family home.
What's included
A wet room installation starts below the finished floor, not above it. Before any tiling or tanking decision is made, we need to know how deep the joists run, how far the floor can realistically drop, and where the drain can actually sit given the waste pipe route beneath — all of which shapes what's achievable before a single product is chosen.
- — Strip-out and assessment of the existing floor structure and joist depth
- — Floor build-up or lowering to create the fall to a single drain point
- — First-fix plumbing and waste, positioned and tested for flow before tanking
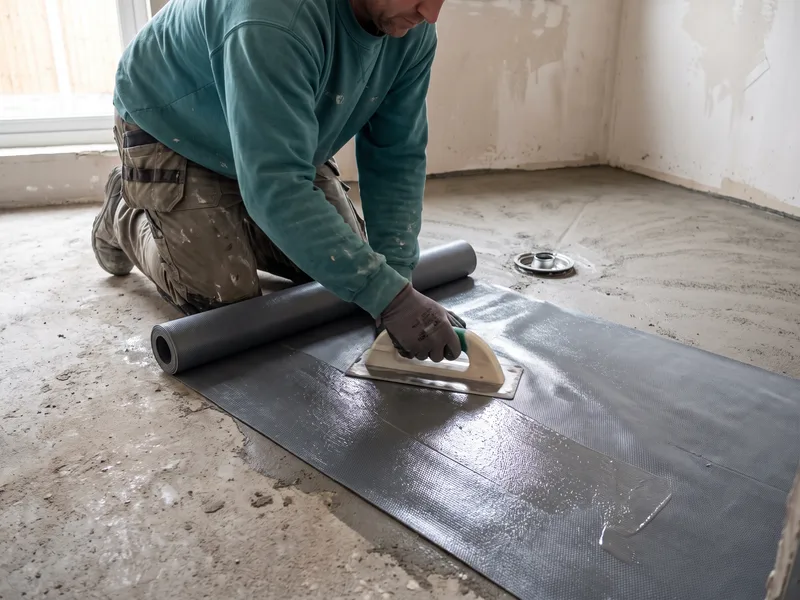
- — Full tanking of the entire wet floor and walls to shower height, not just the enclosure area
- — Large-format tiling laid to the fall with lippage checked row by row
- — Glass screen or half-height panel fitting, where specified, plus WC, basin and towel radiator second fix
- — Water test and flood test of the drain before tiling is signed off, and a full snagging walkthrough
We also protect the rest of the property throughout — wet room floors often involve more cutting, screeding and dust than a standard retile, so hallway and staircase protection is set up before strip-out begins rather than after the first bag of debris goes past. Where joists need adjusting, debris removal is planned in stages so the property isn't carrying a skip's worth of rubble sitting in a hallway for the full duration of the project.
How it runs
- 1 Survey (£125). Joist depth, floor level relative to adjoining rooms, and the achievable drain position are all checked before anything is confirmed as possible. Upstairs, we also look at the ceiling below to anticipate any disruption to that room, and check whether existing pipework in the void below will clash with a lowered floor section.
- 2 You order tiles and fittings. Large-format porcelain or natural stone, the drain cover finish, and any screen are confirmed against the written scope before you commit to an order. We'll flag if a chosen tile format is going to make the fall harder to achieve cleanly.
- 3 Floor build-up and first fix. Structural adjustments made, drain and waste installed and pressure-tested, with any underfloor heating cabling or pipework laid at this stage. This is usually the most disruptive and dust-heavy part of the programme, scheduled early so later stages are cleaner.
- 4 Tanking, flood test and tiling. The membrane is flood-tested before tiling starts — a step that catches any weakness while it's still straightforward to fix, not after the floor is finished. Tiling is set out from the drain outward so cut pieces land at the room's edges rather than beside the drain itself.
- 5 Second fix and snagging. Screen, sanitaryware and brassware fitted; drain flow and fall checked one final time before handover, with water run across the full floor to confirm nothing pools, including the corners furthest from the drain.
Technical standards
A wet room floor is built to a minimum fall of around 1:60 to 1:80 toward the drain, checked with a laser level before any screed or tiling begins, and tested by flooding the area and watching how it clears. Tanking runs across the full floor and up every wall to at least shower height, with corners and pipe penetrations reinforced separately from the flat membrane run — these are the points that fail first if rushed.
Large-format tiles are set with a consistent joint width and checked for lippage as each section is laid, since an uneven floor surface is far more noticeable underfoot with bare feet than it would be in a conventional bathroom.
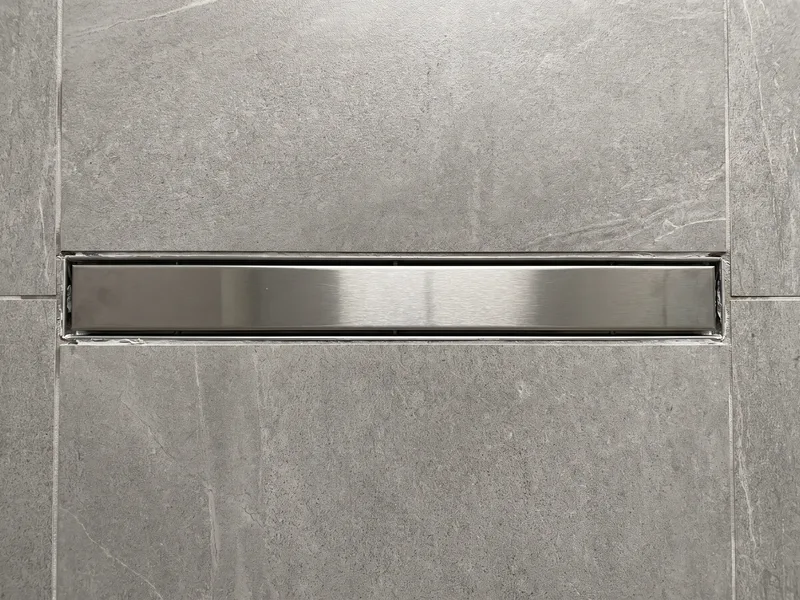
Where the drain sits at a channel along one wall rather than a central point, the fall is set in a single direction rather than a dish shape across the whole floor — this is often the better option in a narrow room, since it avoids tiles needing to be cut to a curved or multi-directional fall at awkward angles.
Any gas work, Part P-notifiable electrical work, or work on an unvented hot water cylinder is carried out by an appropriately registered engineer as part of the project — coordinated so you have one point of contact rather than separate trades to manage.
Why a wet room usually costs more than a tray enclosure
The price difference between a wet room and a standard shower enclosure comes almost entirely from the floor structure, not the tiles or fittings. Lowering or building up a floor to create a consistent fall, especially upstairs where joist depth is limited, is genuinely more labour-intensive than levelling for a tray — sometimes it means notching joists under building control supervision, sometimes it means raising the whole floor level with a step at the door instead. Either route adds time that a tray-based shower simply doesn't need.
Tanking area is larger too — the whole floor rather than just the enclosure footprint — and the flood test and drying time before tiling can begin add a day or two to the programme that a tray enclosure skips entirely. None of this is padding; it's the work that stops a wet room leaking into the room below.
Where a client's priority is purely budget rather than the open, level-access look, a walk-in shower with a low-profile tray can deliver a similar aesthetic for meaningfully less — worth discussing honestly at survey rather than defaulting to the more expensive option because it's the more fashionable one.
We'd rather set that expectation clearly at survey than let a client discover it once quotes come back, which is why the written scope we leave you with always separates out the floor structure cost from the finishing specification — so you can see exactly where your budget is going and adjust the tile or sanitaryware choice independently of the structural work, if that's the better lever to pull.
Choosing between a point drain and a linear channel
A point drain sits centrally in the floor with the fall running toward it from all directions — the traditional wet room approach, and often the simplest in a square or near-square room. A linear channel runs along one edge of the shower area, usually against a wall, with the fall running in a single plane toward it. Linear drains tend to suit rectangular rooms and larger format tiles particularly well, since the floor can be laid with fewer cut pieces and a cleaner, more consistent fall.
Both need the same attention to detail: a drain body that's correctly sized for the floor area it's serving, a trap that's accessible for cleaning, and a cover finish that matches or complements the tile. We'll talk through which suits your specific room shape and tile choice at survey, rather than defaulting to whichever is more familiar.
Level-access and future-proofing a wet room
A wet room is one of the most practical bathroom formats for level access, since there's no tray lip or raised threshold to step over. For clients thinking ahead to reduced mobility — their own or a family member's — this is often the deciding factor over a walk-in shower with even a modest step. We can plan in reinforced wall sections for future grab rails, a wider opening for easier manoeuvring, and a slip-resistant tile finish, all without the room needing to look clinical.
None of this needs deciding immediately. Reinforced backing behind the tiling at key wall sections is inexpensive to add during first fix and effectively invisible once finished, but very disruptive to retrofit later — it's one of the few decisions worth making even if you don't plan to use it for years.
Door openings also matter for future accessibility. A standard door width that feels fine today can become restrictive for a wheelchair or walking frame — widening an opening is straightforward while a room is already stripped back, and considerably more disruptive once everything is finished and decorated around it. We'll mention it at survey if your project timing makes it a sensible, low-cost addition. Threshold detailing at the door also matters: a near-flush saddle rather than a raised sill keeps the level-access benefit intact right up to the room boundary, rather than undoing it with a trip hazard at the one point visitors actually notice.
What you supply
Tiles, the drain cover finish, any glass screen, and sanitaryware are bought by you — see our where to buy guide for sourcing. Confirm tile format and material against the fall requirement at survey: very large single pieces can be harder to set accurately to a fall than a slightly smaller format, which is worth knowing before you order.
Natural stone in particular needs checking for suitability in a wet room floor — some finishes are more slip-resistant wet than others, and porosity affects how the stone needs sealing. Our choosing natural stone guide and porcelain vs natural stone comparison are both worth reading before you order a floor finish for a wet room specifically, since the demands are higher than for a conventional tiled floor.
If underfloor heating is part of the plan, confirm with us at survey whether you're specifying electric or wet (water-fed) underfloor heating — the two have different depth and build-up requirements, and wet systems in particular need planning into the floor fall calculation from the outset rather than squeezed in afterwards. Our electric vs wet underfloor heating guide covers the trade-offs in more detail.
Shower valves and heads are worth ordering alongside tiles rather than as an afterthought, since in an open wet room the valve position is set into the tiled wall at a precise height agreed at survey — a valve bought after tiling is underway almost always means a compromise on position rather than the ideal one.
Related services
Related guides
Areas served
Frequently asked questions
A wet room has no shower tray or step — the whole floor is tanked and falls to a single drain point, with the floor level dropped or built up to achieve that fall. It demands more structural and waterproofing work than a tray-based shower, which is why it's priced and programmed differently.
Most can, but upstairs wet rooms usually need the joists checked and often a lowered floor section or a raised threshold to achieve the fall without the water finding the lowest point of the room awkwardly. This is assessed at survey, not guessed at.
Not when tanked correctly. A fully tanked wet room floor and walls, with a tested fall to the drain, is no more prone to leaks than a tray enclosure — the difference is there's no tray acting as a secondary line of defence, so the tanking has to be right first time.
A correctly falling floor clears within a minute or two of the water being turned off. If water is pooling or taking much longer, the fall was either set out wrong or has settled — something we check for on every job before handover.
Yes, wet underfloor heating sits below the tanking membrane and works well with a wet room floor, helping the surface dry faster after use. It needs planning into the floor build-up at survey stage alongside the fall to drain.
Both work. A fully open wet room needs a wider splash zone and careful positioning of anything that shouldn't get wet; a glass screen or half-height panel contains spray while keeping the open, level floor. We'll talk through which suits your room and household at survey.
Not normally — converting an existing bathroom into a wet room is internal work and doesn't change the external envelope of the house. Building Regulations still apply to the electrics, and if structural floor work is significant, building control sign-off is coordinated as part of the project.
It can be a consideration in a one-bathroom house, which is why we'll always ask whether this is the only bathroom before recommending a full wet room conversion — in a multi-bathroom property it's rarely an issue, since at least one bath usually remains elsewhere.