
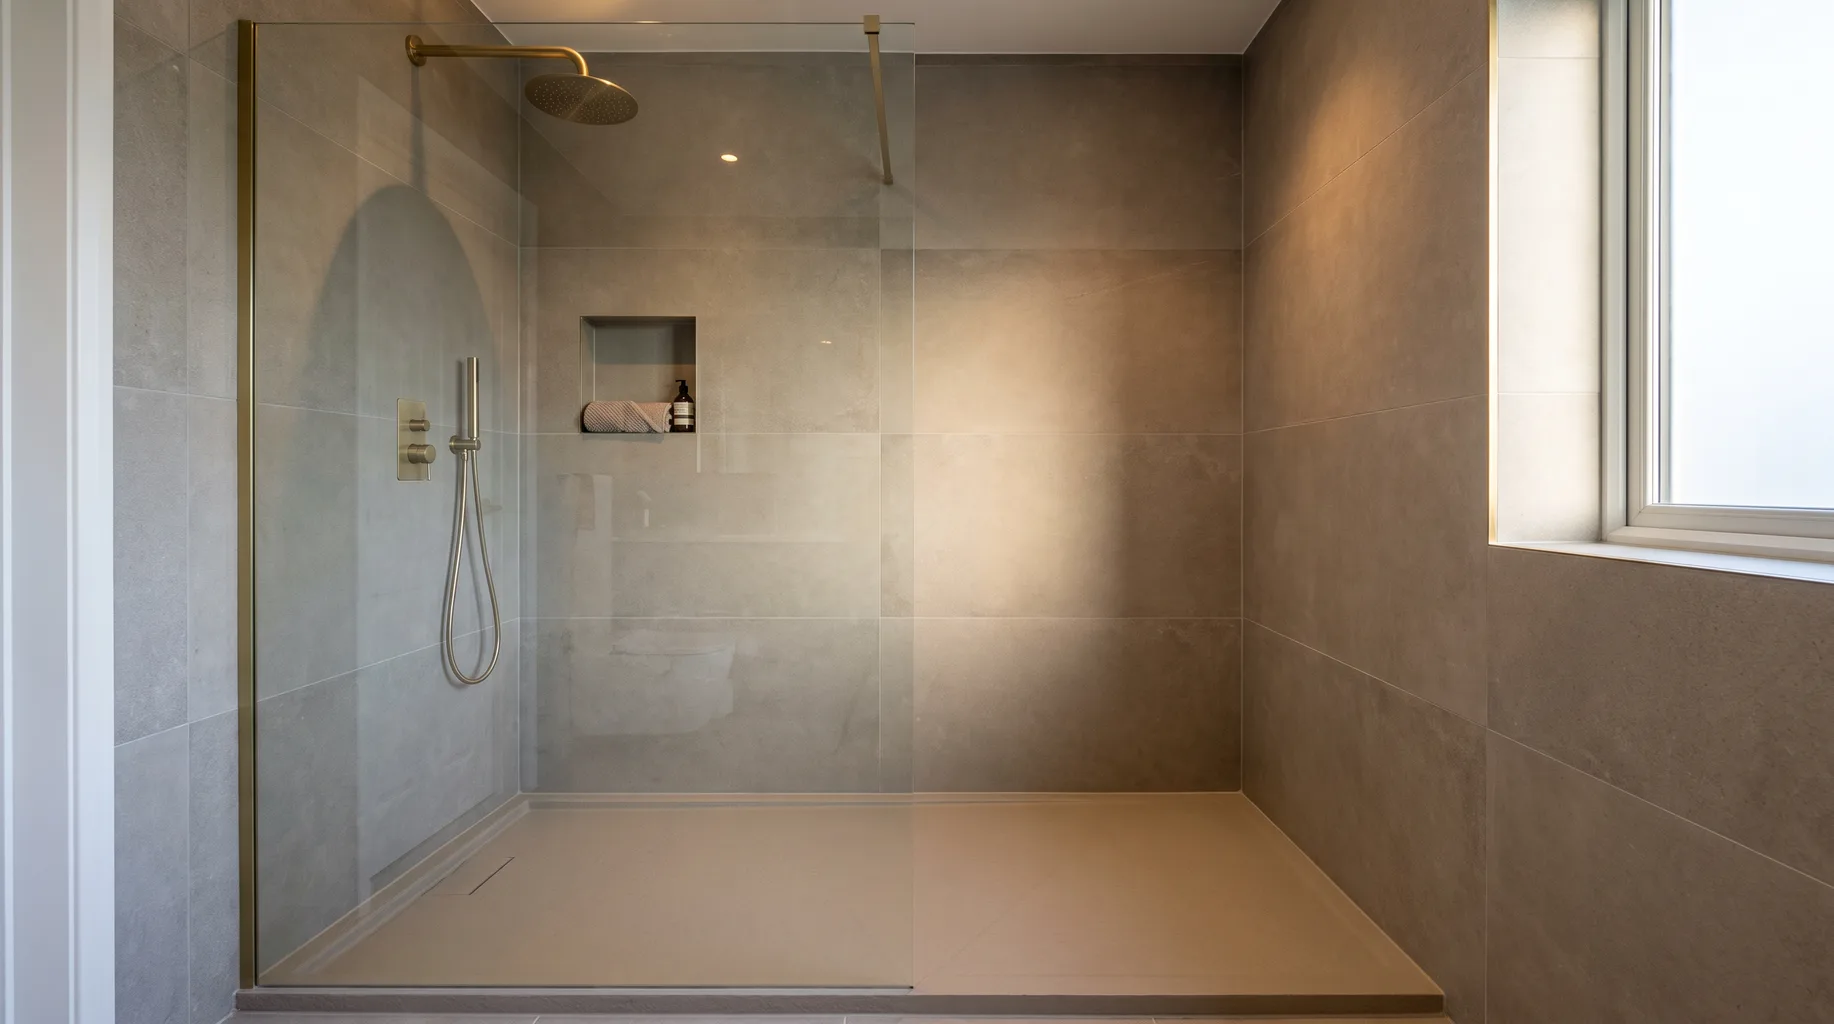
Walk-In Shower Installation
A walk-in shower trades the enclosure door for an open glass panel and a low-profile tray — simple to use, easier to clean, and dependent on getting the splash zone, panel fixing and tray fall right the first time. From £3,500.
It sits between a fully enclosed cubicle and a complete wet room — less structural work and expense than the latter, but a more open, contemporary look than the former. For most households replacing a dated bath-and-shower-over arrangement, it's the middle ground that delivers the biggest visual change for the budget involved, which is why it's one of the most frequently requested single upgrades we fit, both as a standalone project and as part of a wider bathroom refurbishment.
What's included
Most walk-in shower projects replace a bath or an old framed cubicle in the same footprint, which sounds simple but still means the waste position, wall condition and floor level all need checking before the new tray can go in — none of these are guaranteed to be where the old layout assumed them to be. On older properties especially, we often find a waste pipe that was never quite right the first time, sitting slightly out of fall or routed with an unnecessary bend that reduces flow — both are easier and cheaper to correct now, while the floor is already open, than to leave in place and discover later.
- — Removal of any existing enclosure, tray and surrounding tiling
- — First-fix plumbing with waste positioned for the low-profile tray or wetroom-style drain
- — Tanking of the shower area and splash zone, sized to the actual throw of the shower head, not just the tray footprint
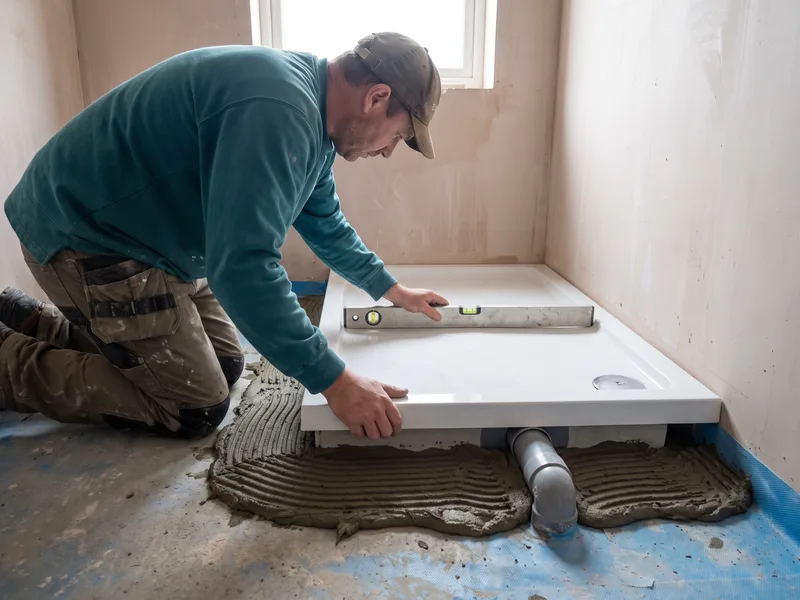
- — Tray levelling and bedding, checked before any panel is offered up
- — Glass panel fitting — wall channel or pole-fixed, set plumb and silicone-sealed
- — Tiling around the enclosure, with joints lining through at the panel edge
- — Shower valve and head second fix, water test, and snagging walkthrough
Where a bath is being removed to make way for the walk-in shower, we also check whether the waste pipe diameter and route need adjusting — a bath waste and a shower waste aren't always interchangeable without some first-fix work, particularly on an older system.
How it runs
- 1 Survey (£125). Opening width, head height, splash zone and waste position are measured and confirmed against your intended panel and tray, along with the floor's existing level and condition beneath any old bath or tray being removed.
- 2 You order the tray, panel and valve. We check model and fixing system compatibility against the room before you buy, and flag anything likely to need a longer lead time, particularly bespoke-sized glass.
- 3 Strip-out and first fix. Old enclosure or bath removed, waste repositioned if required, substrate checked for level across the whole tray footprint, with any unexpected issues behind the old installation reported to you before work continues.
- 4 Tanking, tray and tiling. Waterproofing cured, tray bedded and levelled, tiles set out around the final panel position so cut tiles don't land against the glass edge or at eye level on the feature wall.
- 5 Panel fit and snagging. Glass set plumb, sealed, water-tested for splash containment at realistic shower pressure with the door or panel in typical use positions, full walkthrough before handover.
Technical standards
The tray is levelled and bedded on a full mortar bed, not shimmed at the corners — a tray that rocks even slightly will crack its seal within months. Tanking extends beyond the tray footprint to cover the realistic splash zone of the shower head specified, since an open walk-in layout throws water further than an enclosed cubicle. Glass panels are fixed plumb to within a few millimetres and checked for flex before sealing; movement at the fixing point is the most common cause of a failed seal later.
Floor tiles either side of the tray are set with a slight fall away from the shower area where the layout allows, helping any splash find its way back rather than sitting on the surrounding floor.
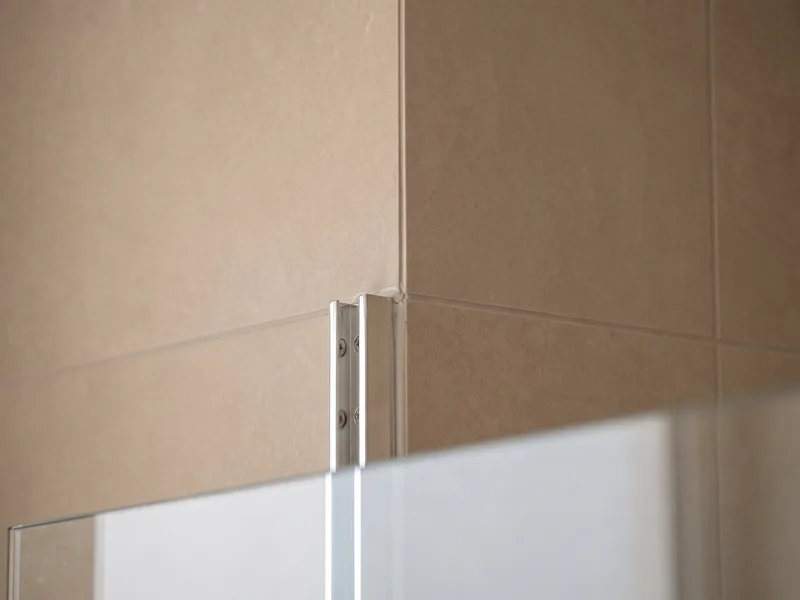
Wall channel fixings for the glass panel are drilled into tiled, tanked substrate rather than grout lines, which gives a far stronger and longer-lasting fix than a hole placed purely for visual symmetry — we'll position the fixing where it's structurally sound first, and adjust tile layout to suit, rather than the other way round.
Silicone at the tray-to-wall junction is applied in a single, continuous bead over a backer rod where the gap is wider than a few millimetres — packing the gap properly before sealing avoids the sunken, uneven seal line that otherwise forms within the first few months as the silicone shrinks into an unsupported void.
Choosing a tray height, size and material
Low-profile trays generally come in two material types: stone resin, which is solid, quiet underfoot and resistant to flex, and acrylic-capped, which is lighter and easier to handle on an upper floor but can feel less substantial if not fully supported beneath. The choice matters more than it might seem — a tray that flexes slightly under weight is one of the most common causes of a cracked seal at the tile junction within the first year.
Tray size should be set by the actual available floor area once the room is stripped back, not the dimension assumed from the old bath or enclosure — we remeasure at survey and again once strip-out is complete, since wall surfaces are rarely perfectly square and a tray ordered to the wrong dimension by even a centimetre can mean a return delivery.
Replacing a bath with a walk-in shower
This is one of the most common reasons we're asked to fit a walk-in shower — a bath that's rarely used being swapped for a shower that will actually get daily use. The bath's waste outlet is usually in a different position to where a shower waste needs to sit, and the surrounding wall has often never been tanked, since a bath panel hides far more than tiling alone. Both of those get addressed as part of strip-out rather than assumed fine because the bath sat there for years without an issue.
It's also worth thinking about whether the household genuinely has no future need for a bath at all — in a single-bathroom household with young children, a bath is sometimes worth retaining even if it's used less often than a shower, simply because bathing small children in a walk-in shower tray isn't always practical. In a two-bathroom or larger household, this is rarely a concern, and converting the secondary or guest bathroom to a walk-in shower is usually the more popular upgrade.
If keeping a bath elsewhere in the house, we can advise at survey on where that makes most sense relative to the household's daily routine, rather than leaving it as an assumption carried over from the original house layout.
Fixed panel, hinged door, or fully open
A fixed glass panel with no door at all is the simplest and most watertight option — there's no hinge to maintain and no door seal to replace, and it suits a shower head that's reliably contained within the splash zone. A hinged door adds a second line of containment for a more powerful or adjustable shower head, at the cost of a hinge and seal that will eventually need attention. A fully open layout with no glass at all works in larger rooms with a generously sized wet floor area, but needs the most careful planning around splash zone and floor fall of the three options.
There's no universally correct choice — it depends on the shower head specified, the room's layout relative to other fittings, and how much containment the household actually wants day to day. We'll talk through the trade-offs specific to your room rather than recommend a default. Households with children often prefer a hinged door simply because it's harder for a child to accidentally direct the shower head out of the enclosure, while households without that concern more often choose the cleaner look of a fixed panel.
What you supply
Tray, glass panel, shower valve and head, and tiles are bought by you — our where to buy guide covers sourcing routes. Panel and tray need to be confirmed as a compatible pair before ordering: mixed-brand fixing systems don't always align, and a return trip for an incompatible panel is a chargeable delay we'd both rather avoid.
If you're deciding between a thermostatic mixer shower and a digital or smart shower valve for this layout, our thermostatic vs digital showers guide sets out the practical differences, and our water pressure guide is worth checking before you commit to a large rainfall head, since output depends heavily on your home's existing supply pressure.
It's also worth buying a handful of spare tiles from the same batch, particularly if you've chosen a natural stone or a limited-run porcelain — dye lots change between production runs, and a cracked tile years from now is far easier to replace from a box in the loft than to colour-match from scratch.
Check lead times on bespoke glass sizes before fixing a start date. A standard stock-size panel can often be with us within a week or two, while a bespoke cut-to-size frameless panel can take several weeks depending on the supplier, and that lead time needs building into the overall programme rather than discovered partway through strip-out.
Getting splash containment right
The most common complaint about an open walk-in shower isn't the fixtures — it's water escaping onto the surrounding floor. This almost always comes down to one of three things: the panel being sized too narrow for the shower head's throw, the shower head itself being adjustable to an angle that sprays past the glass, or the floor fall outside the tray not directing stray water back toward the drain. We check all three at survey and again at second fix, rather than leaving it to be discovered on the first use.
A fixed shower head position, agreed before first fix, removes most of the risk — it's a low-cost decision to get right early and an expensive one to fix once tiling and glass are both in place. We'll always flag at survey if your chosen head and panel combination looks likely to need a wider opening than first planned.
A ceiling-mounted rainfall head reduces splash risk considerably compared with a wall-mounted arm angled into the room, simply because the water falls straight down rather than outward — worth considering at the specification stage if containment is a bigger priority to your household than the exact head style.
Related services
Related guides
Areas served
Frequently asked questions
A walk-in shower uses a low-profile tray or upstand with a glass panel — the floor either side stays dry. A wet room removes that threshold entirely so the whole floor is tanked and level. Walk-in showers generally involve less structural work, which can mean a shorter programme and a lower overall cost.
Most walk-in panels are specified between 800mm and 1200mm, but the real constraint is splash containment — a narrow opening with a powerful shower head can throw water further than you'd expect. We check head position and opening width together at survey.
Generally no — the tray or upstand needs to sit on a sound, level substrate with the waterproofing membrane running underneath and up the walls, so existing tiles are usually removed first even if the rest of the room isn't being retiled.
A low-profile tray typically sits 30–50mm above the surrounding floor, which some clients prefer for keeping water contained without the full wet room floor build-up. Flush options are possible but need the floor assessed in the same way as a wet room.
Panels are fixed with a wall channel or floor-to-ceiling pole system depending on the brand and layout, set plumb and checked for movement before sealing. A loose or flexing panel is almost always a fixing fault, not a product fault.
Yes — loft conversion en-suites and rooms with restricted head height are common for this layout. We confirm head height over the shower position and panel height at survey so you're not buying a panel that won't fit under a sloped ceiling.
Usually, yes. A low-profile tray needs far less structural floor work than a fully tanked wet room floor, which is the single biggest cost driver between the two. If budget is the main concern, a walk-in shower with a quality tray often delivers a very similar look for meaningfully less.
Glass panels need the same regular squeegee or wipe-down as any shower screen to prevent limescale build-up, and the tray-to-wall and floor junctions should be checked annually for any sign of silicone degrading. Open layouts are generally easier to clean than a fully enclosed cubicle simply because there's more access.