
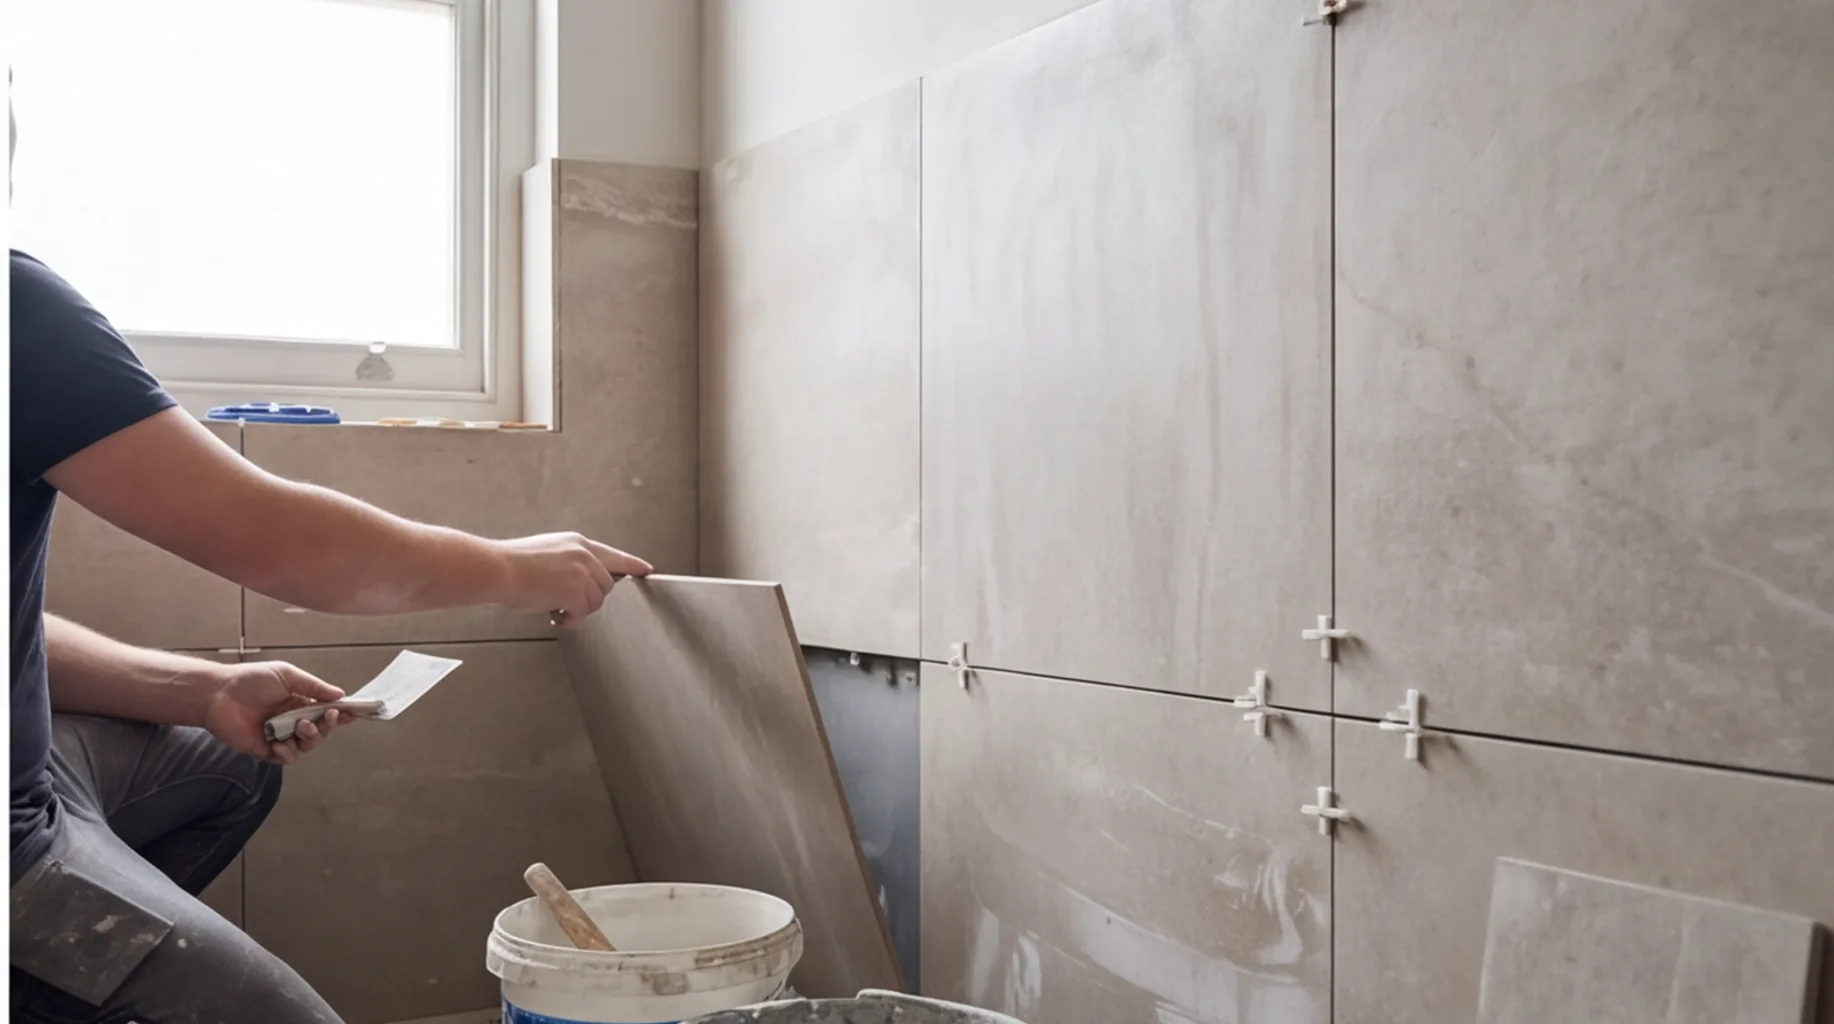
Full Bathroom Installation
A full bathroom installation strips the room back to brick and joist and rebuilds it around the sanitaryware, brassware and tiles you've already bought — strip-out, first fix, tanking, tiling and second fix, typically 2–3 weeks, from £3,500.
It's the service most clients mean when they say they're "redoing the bathroom" — a complete rebuild rather than a cosmetic refresh, so every element from the waste routes under the floor to the last mitred tile edge is set out, checked and signed off as one continuous project rather than a sequence of separate trades booked in and hoped to line up. We coordinate the sequencing, the substrate checks, and the trades that need registration — gas, Part P electrics, unvented cylinders — so you have one point of contact for the whole project rather than a different number to call for each stage.
What's included
- — Strip-out of the existing suite, tiling and flooring, with disposal
- — First-fix plumbing: supply and waste runs to the positions agreed at survey
- — First-fix electrics, coordinated with a registered engineer for any Part P work
- — Tanking and waterproofing of the shower area and any other wet zones
- — Floor and wall tiling, set out from centre lines so joints line through
- — Second fix: WC, basin, bath or shower, taps, towel radiator and mirror
- — Daily protection and clean-down, and a full snagging walkthrough on completion
How it runs
- 1 Survey (£125). Measurements, water pressure and flow, substrate check, waste routes and electrical supply review. You leave with a written scope.
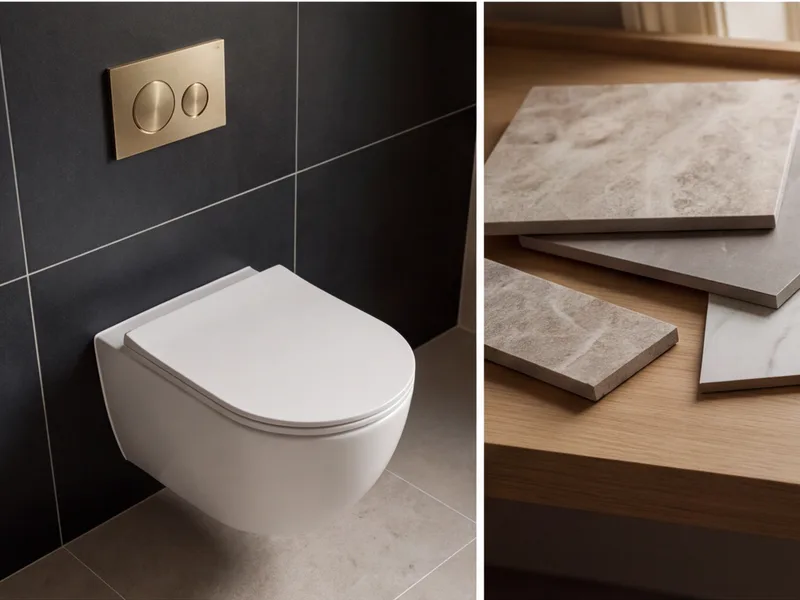
- 2 You order the products. We confirm exact models, carrier frames and delivery dates against the scope before strip-out begins.
- 3 Strip-out and first fix. Old suite removed, supply and waste runs adjusted, carrier frames and electrics installed.
- 4 Tanking and tiling. Wet areas waterproofed and cured before any tile is laid; set-out checked against centre lines.
- 5 Second fix and snagging. Sanitaryware and brassware fitted, sealed and tested; a full walkthrough before we call it finished.
Sequencing, week by week
The five stages above run to a tighter internal sequence than they first appear, and it's this sequence — not just the headline 2–3 week figure — that determines whether a project stays on programme.
Week one is strip-out, first-fix plumbing and first-fix electrics, with any substrate findings surfacing and being resolved inside the same week rather than carried into week two. The dustiest, messiest work is front-loaded here, so protection measures are at their most robust early rather than relaxed over time.
Week two begins once tanking has cured — a day or two depending on the product and ambient temperature — before tiling starts. Floor tiling is generally set and checked for falls before wall tiling begins in a wet area, with centre-line set-out marked before the first tile is cut, so joints are checked against the room's true centre rather than whichever wall happens to be squarest.
Week three, where needed, is second fix — sanitaryware, brassware, lighting, towel radiator, mirror — followed by sealant, testing and snagging. Shorter projects without a layout change or a wet room floor often complete second fix within week two instead, which is why the published range is 2–3 weeks rather than a single fixed figure. Any change in scope found during strip-out is confirmed with you before the following stage starts, never absorbed into the programme silently.
Technical standards
Tanking follows current waterproofing guidance for wet areas (BS 5385) — see our tanking and waterproofing standards guide for the detail — with full-height protection in shower enclosures and a minimum upstand elsewhere. Falls to drain are set before tiling, not adjusted afterwards. Large-format porcelain is checked for lippage as each row goes down, with tolerances covered in our tile installation tolerances guide, and tile joints are set out from centre lines so they line through from floor to wall rather than being forced to fit at the edges.
Any gas work, Part P-notifiable electrical work, or work on an unvented hot water cylinder is carried out by an appropriately registered engineer as part of the project — we coordinate this so you have one point of contact rather than managing separate trades.
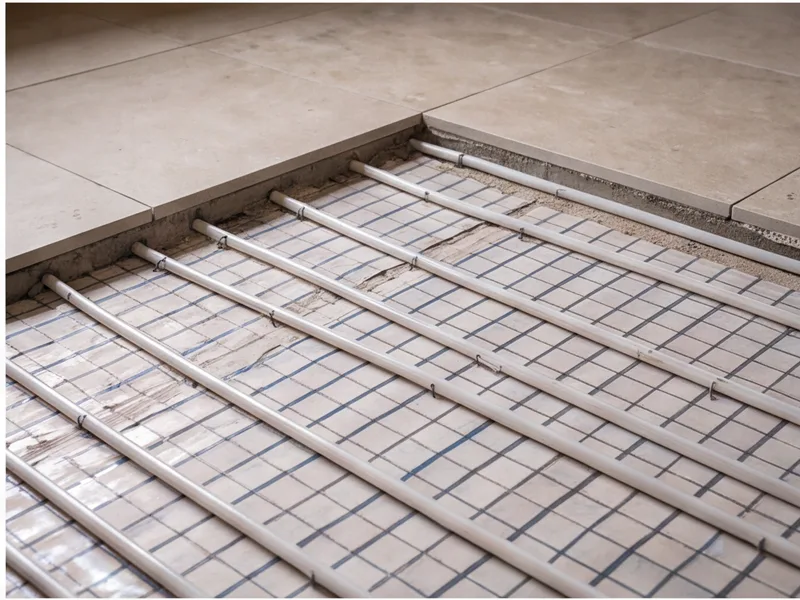
Solid concrete and suspended timber floors need different approaches
What's underneath the existing floor finish changes how we approach tanking, movement and tile selection — confirmed at survey, not assumed from the finish you can currently see.
A solid concrete floor — a ground-bearing slab, or a suspended concrete floor in a flat or newer build — is rigid and generally the more forgiving substrate for large-format porcelain and natural stone, since there's negligible deflection under normal domestic loading. Moisture readings are still taken before tanking, since a slab that looks dry can be carrying residual construction moisture for longer than expected, particularly in newer builds.
A suspended timber floor moves under load in a way concrete doesn't, and that movement is what cracks grout joints and, eventually, tiles, if it isn't designed out before tiling begins. We check joist spacing, span and general stiffness at survey; depending on what we find, the fix might be additional noggins between joists, an uncoupling membrane beneath the tile bed, a stiffer sub-floor board, or in some cases a recommendation to use a smaller tile format than originally specified. Deflection that feels negligible underfoot can still exceed the tolerance a rigid porcelain or stone floor needs to stay crack-free over years rather than months.
Where a layout change or a wet-area floor level change is part of the brief, substrate type also affects how a fall to drain is achieved: a concrete floor is more commonly cut back or built up with screed, while a timber floor is more commonly adjusted by notching or dropping joists under building control guidance. Both routes are confirmed at survey, before tiling is ordered, since tile format and floor build-up interact with each other more than most clients expect.
Protecting the rest of the home during the work
A full bathroom installation runs for several weeks inside an occupied home, and most of the risk to the rest of the property sits outside the room being worked on — the hallway, stairs and landing that materials, old suite sections and debris travel through, repeatedly, for the length of the project.
Floor protection boards go down on hard flooring and dust sheets are taped to carpet along the full route from the access point to the bathroom, not just inside the room itself, and this stays in place for the whole project rather than being removed once strip-out finishes. Door linings, bannisters and any furniture close to the route are padded where materials are likely to catch against them on the way past.
Daily clean-down is part of the programme, not an afterthought at the end: dust is controlled at source where possible, and communal areas of the house are left usable at the end of each working day rather than handed back only at project completion. Where access is tight — a narrow staircase, a period property with limited turning space for a bath or full sheets of tile — this is assessed at survey, since it can affect which products fit through the house at all, as well as how carefully they need to travel once inside.
What you supply
Sanitaryware, brassware, tiles and furniture are bought by you — from a showroom, a manufacturer direct, or a retailer such as those on our where to buy guide. At survey stage we confirm exact models, required carrier frames, and delivery timing. Inspect everything on arrival — our delivery checklist guide covers what to look for — since delays or return visits caused by missing, damaged or incorrect items are chargeable, which is why catching a problem before we're on site matters.
Related services
Related guides
Areas served
Frequently asked questions
Strip-out of the existing room, first-fix plumbing and electrics, tanking and waterproofing, tiling, and second fix of the sanitaryware, brassware and furniture you've supplied — finished with a full snagging walkthrough.
A straightforward full bathroom typically runs 2–3 weeks from strip-out to snagging. Wet rooms, layout changes that move waste positions, or natural stone finishes usually add several days.
No, but we ask for a key holder or point of contact who can answer questions quickly, particularly on delivery days and at first-fix stage when exact positions are being confirmed.
Yes. Moving waste positions is routine, but it needs confirming at survey stage so the fall to drain and any floor buildup can be planned before tanking starts.
We sequence the installation around what's confirmed on site. Missing or incorrect items cause delays and, where they cause a return visit, that visit is chargeable — which is why we check deliveries against the specification before starting.
Our workmanship guarantee covers the installation itself. Manufacturer defects in the products you've supplied sit with the manufacturer or retailer, as set out in our terms.
It can. A suspended timber floor sometimes needs additional stiffening, an uncoupling membrane, or a smaller tile format to suit large-format porcelain or natural stone, which is assessed at survey rather than discovered after tiling has started. A solid concrete floor is generally more straightforward, though moisture readings are still taken before tanking.
Floor protection boards and taped-down dust sheets cover the full route from the access point to the bathroom — hallway, stairs, landing — not just the room itself, and stay in place for the whole project. Daily clean-down keeps communal areas usable each evening rather than only at completion.
Work on the affected area pauses while we show you what's been found and agree how to proceed. Genuine substrate issues — a damp patch, a joist needing attention, a waste run in poor condition — are priced and agreed with you before the programme continues, rather than absorbed silently into the original scope.