
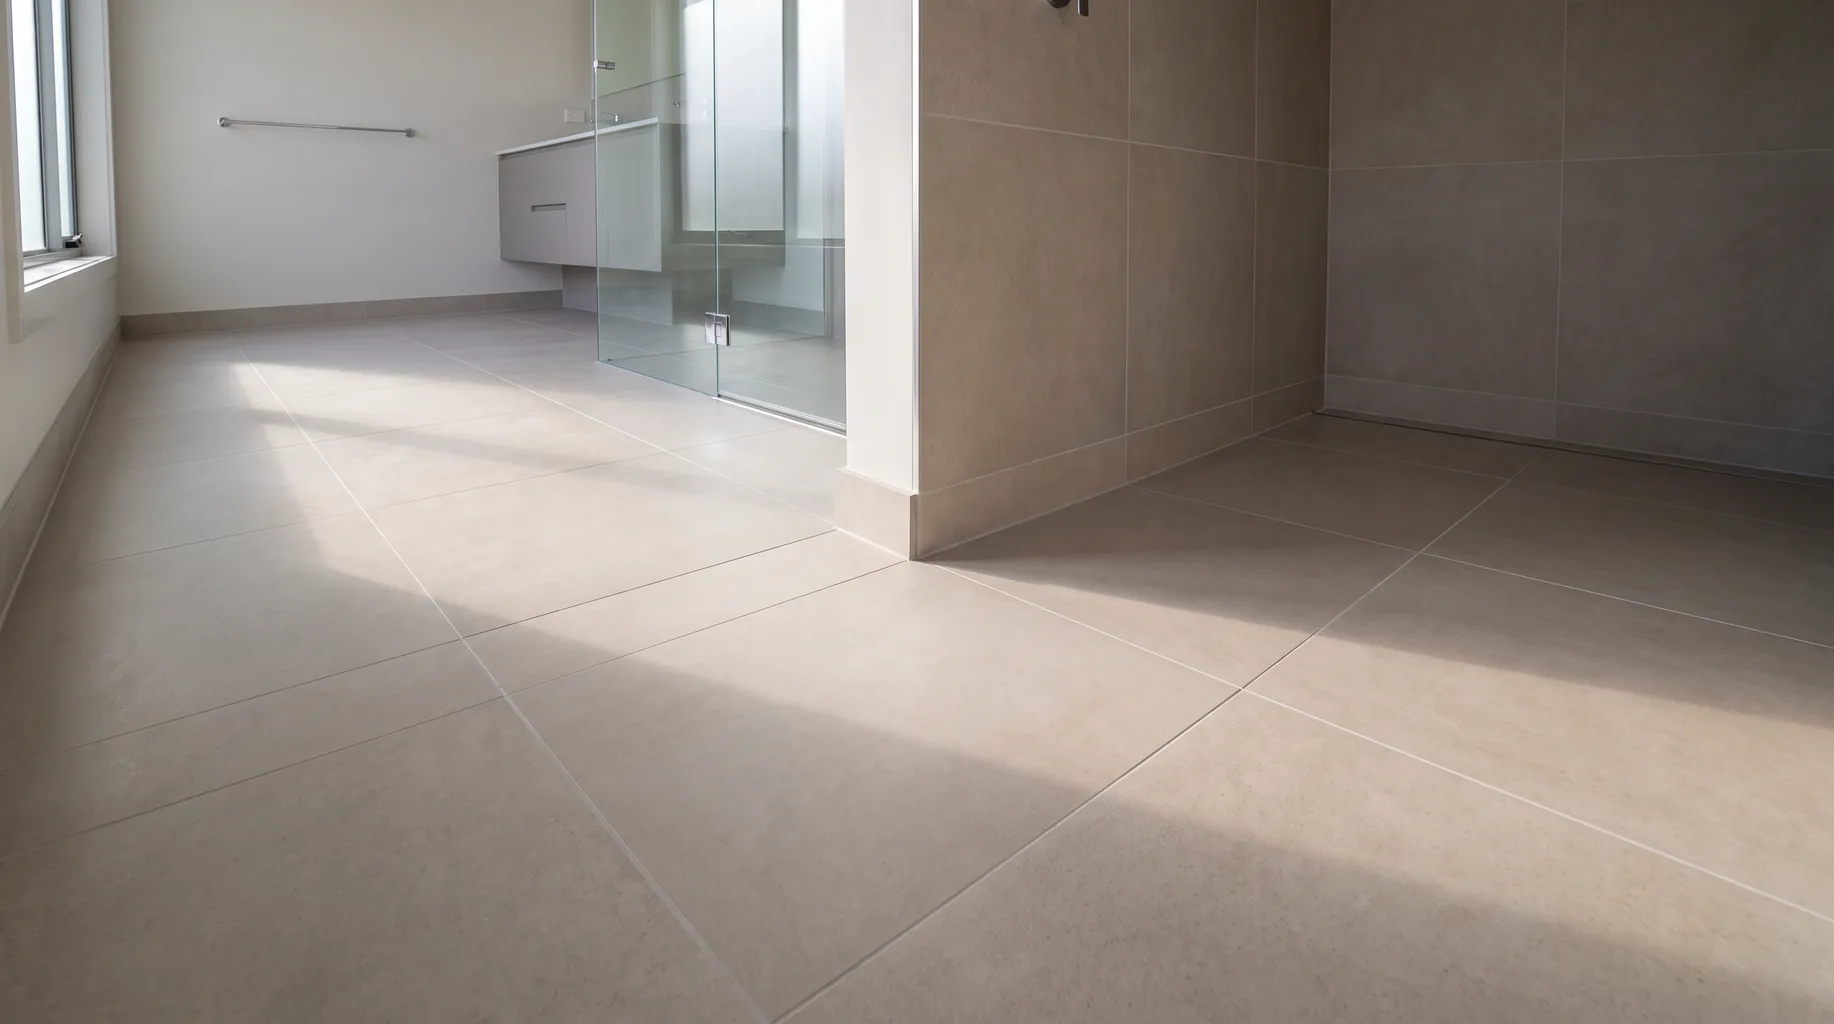
Large Format Tile Installation Tolerances
Large format tiles need a flatter substrate, a levelling clip system to control edge height, and full adhesive coverage under the tile, not just at the corners. BS 5385 guidance sets the framework; good practice tightens it further for anything over roughly 600mm a side, where a visible lip or hollow spot is far harder to disguise than on a small tile.
A large format porcelain tile running wall to wall across a wet room floor, or a book-matched pair of slabs either side of a vanity unit, reads as a single plane to the eye — any inconsistency across that plane, whether it's a lipped edge or a hollow spot under the surface, is immediately obvious in a way it simply isn't on a floor of small mosaic. Getting a large format installation right is less about the tile itself and more about everything underneath it: the substrate, the adhesive, and the levelling system holding each tile at the correct height while the adhesive cures.
The tolerances that matter
| Tolerance | What good practice looks like |
|---|---|
| Substrate flatness | Checked with a straight edge across the room; dips and humps corrected with a levelling compound before tiling starts, tighter than the tolerance acceptable for small tile formats. |
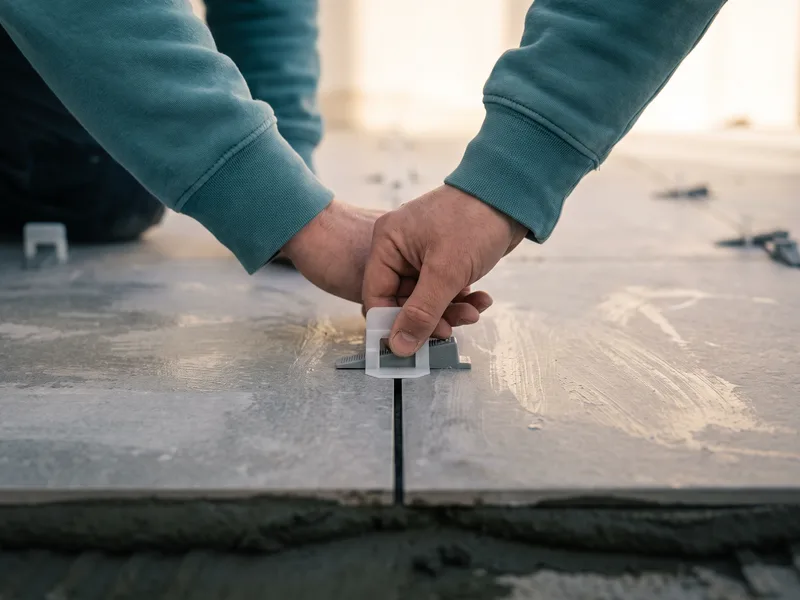
| Lippage between adjacent edges | Controlled to a minimal, consistent amount using a tension-strap or wedge levelling system, checked tile by tile as the floor or wall goes down, not corrected after the adhesive has set. |
| Adhesive coverage under the tile | Close to full coverage across the back of the tile, achieved by back-buttering in addition to combing the substrate, so there are no voids that can crack under point load. |
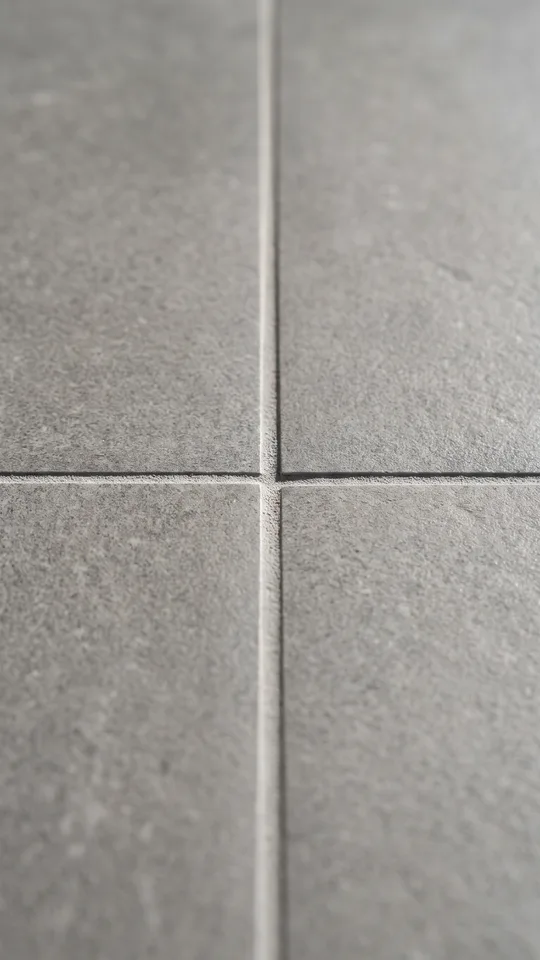
| Grout joint width | Set and held consistently with spacers through the levelling system, since large format tiles make an uneven joint width far more visible over a long run. |
| Movement joints | Positioned at junctions, large expanses and penetrations per adhesive manufacturer guidance, to allow for thermal and structural movement without cracking the tile field. |
How a large format installation is set out
- 1 Substrate check and levelling. Floor or wall checked for flatness; self-levelling compound applied where needed before any set-out marks are drawn.
- 2 Dry lay and set-out from centre lines. Tiles laid out dry first to plan cuts, so joints line through from floor to wall and awkward slivers are avoided at edges.
- 3 Adhesive applied to substrate and tile. Combed onto the floor or wall and back-buttered onto the tile itself, to achieve full coverage rather than isolated ridges of adhesive.
- 4 Tile placed and levelling system fitted. Tension straps or wedges inserted at each joint to hold adjacent tiles at the same height while the adhesive cures.
- 5 Lippage checked as each row is laid. Not left until the whole floor is down — any inconsistency is corrected while the adhesive is still workable.
- 6 Cure, clip removal and grouting. Levelling clips snapped off flush once the adhesive has cured, then joints grouted to a consistent width and depth.
Handling, lifting and cutting large slabs
A large format porcelain slab, particularly anything approaching a metre or more on its longest edge, flexes under its own weight if it isn't supported correctly during lifting and carrying — enough flex, applied repeatedly or carelessly, can crack a slab that would otherwise be perfectly sound once bedded flat on the floor or wall. Suction lifters, carried by at least two people for anything of real size, are standard practice rather than an optional extra, and a slab is carried on edge rather than flat wherever possible to reduce the bending stress it's under in transit around the site.
Cutting is equally particular — a wet saw with the correct blade for porcelain or natural stone gives a clean, chip-free edge, while a cut made with the wrong blade or too fast a feed rate can leave a ragged edge that telegraphs through the grout joint once finished. Cuts around pipework, waste positions and fixing points are planned during the dry-lay stage specifically so that awkward cuts land in less visible positions — behind a WC pan or under a vanity unit — rather than along a prominent sightline.
What goes wrong when tolerances aren't held
Skipping a levelling system to save time shows up within weeks as visible lippage, catching bare feet and towels and collecting grime along the raised edge. Skipping back-buttering to save adhesive shows up later, sometimes months on, as a hollow-sounding tile that eventually cracks under a dropped object or a point load it should easily have withstood with full support beneath it. Both faults are considerably harder to put right after the room is finished than to avoid during installation — another reason the preparation stage, not the tile itself, is where a large format job is actually won or lost.
Why set-out from centre lines matters so much at large format scale
Setting out from the centre line of a room, rather than starting against one wall and working across, balances any cuts evenly at both ends instead of leaving a full tile at one side and a narrow sliver at the other. On a small tile this is a minor aesthetic preference; on a large format tile, where a single row might only contain two or three whole tiles across a typical bathroom width, an unbalanced layout is immediately obvious and very difficult to disguise after the fact. The same principle applies to lining joints through from floor to wall — a continuous grout line running unbroken around a room reads as considered and precise, while a mismatch where floor and wall joints don't align is one of the clearest visual signs of a set-out that wasn't planned before tiling began.
Sources and standards
Tiling practice referenced in this guide follows BS 5385 (parts 1, 3 and 5 for walls, floors and natural stone respectively), with substrate flatness, adhesive coverage and movement joint guidance taken from current tile and adhesive manufacturer technical data sheets, which generally go further than the baseline standard for large format and natural stone products.
Grout choice and joint width on large format tile
A narrower grout joint, often favoured on large format tile for a cleaner, more minimal look, puts more emphasis on perfectly consistent tile sizing and levelling, since there's less width in the joint itself to visually absorb any small inconsistency between tiles. Epoxy grout, more resistant to staining and water penetration than standard cementitious grout, is increasingly specified on narrow joints in wet areas for exactly this reason, though it's less forgiving to apply and needs a installer experienced with its shorter working time before it begins to set. We agree grout type and joint width with you at the set-out stage, since both affect the finished look as much as the tile itself does.
Why large format porcelain still needs skilled hands, not just a good product
Manufacturers have made large format porcelain genuinely easier to work with over the last decade — more consistent calibration between tiles, rectified edges for tighter joints, and purpose-made levelling systems that weren't widely available a generation ago. None of that removes the need for an installer who's handled enough of it to anticipate where it can go wrong: a slab that feels subtly unsupported when tapped, a dry-lay that reveals an awkward final row before adhesive is mixed, a substrate that looks flat to the eye but isn't within the tighter tolerance a rigid tile needs. The product has become more forgiving; the installation still rewards experience over simply following a manufacturer's instruction sheet to the letter.
Related services
Related guides
Areas served
Storing tiles safely before they're laid
Large format boxes are heavy and awkward, and stacking them incorrectly before the installation starts is a frequent, avoidable cause of cracked tiles that were perfectly sound on delivery. Boxes should be stored flat, on a level surface, stacked no higher than the manufacturer recommends, and kept away from damp or freezing conditions that can affect the adhesive bond later even if the tile itself looks unaffected. We check stored stock on arrival at site for exactly this reason before any of it is carried through to the room being tiled.
Thresholds and transitions to other flooring
Where a large format tiled floor meets a different flooring type at a doorway — carpet, engineered wood, or a different tile elsewhere in the house — the transition detail needs planning at the same set-out stage as the rest of the room, not left as an afterthought once the main floor area is complete. A trim profile matched to the tile's thickness gives a clean, finished edge and protects the tile's cut edge from chipping underfoot traffic, while a mismatch in height between the two floor finishes, however slight, is one of the more common snags raised at final handover if it isn't checked and accounted for during the floor build-up planning.
Frequently asked questions
Generally anything with one edge over roughly 600mm, though the practical threshold that changes installation method is when a tile becomes too large or heavy to set accurately by hand without a levelling system and, often, a suction lifter.
Lippage is a height difference between the edges of two adjacent tiles. Beyond a small tolerance it's visible in raking light, catches a bare foot or mop, and on a large format tile is far more noticeable than on a small mosaic because the eye tracks a long, uninterrupted edge.
The reusable tension-strap or wedge systems used for large format floor tiles are designed to snap off flush at grout-joint width after the adhesive cures, leaving the surface undisturbed — the clip sits in the joint itself, not on the tile face.
Yes, with a wet saw or specialist cutter for the thickness and material involved. Cuts are planned before installation starts, as part of the set-out, so pipework, waste positions and fixing points all land where they need to without an awkward sliver of tile at an edge.
Flatter than for small tiles, because a large rigid tile can't flex to follow a dip or hump the way a mosaic can. We check and, where needed, level the substrate with a self-levelling compound before any large format tile is laid.
Yes, generally — careful handling of bigger, heavier tiles, back-buttering, levelling systems and more frequent checking for lippage all add time compared with a standard 300mm or 600mm square tile laid without a levelling system.
Written by the Install My Bathroom installation team — 30 years fitting high-end bathrooms.
Last updated: 2026-10-05