
Bathroom Tanking and Waterproofing Standards
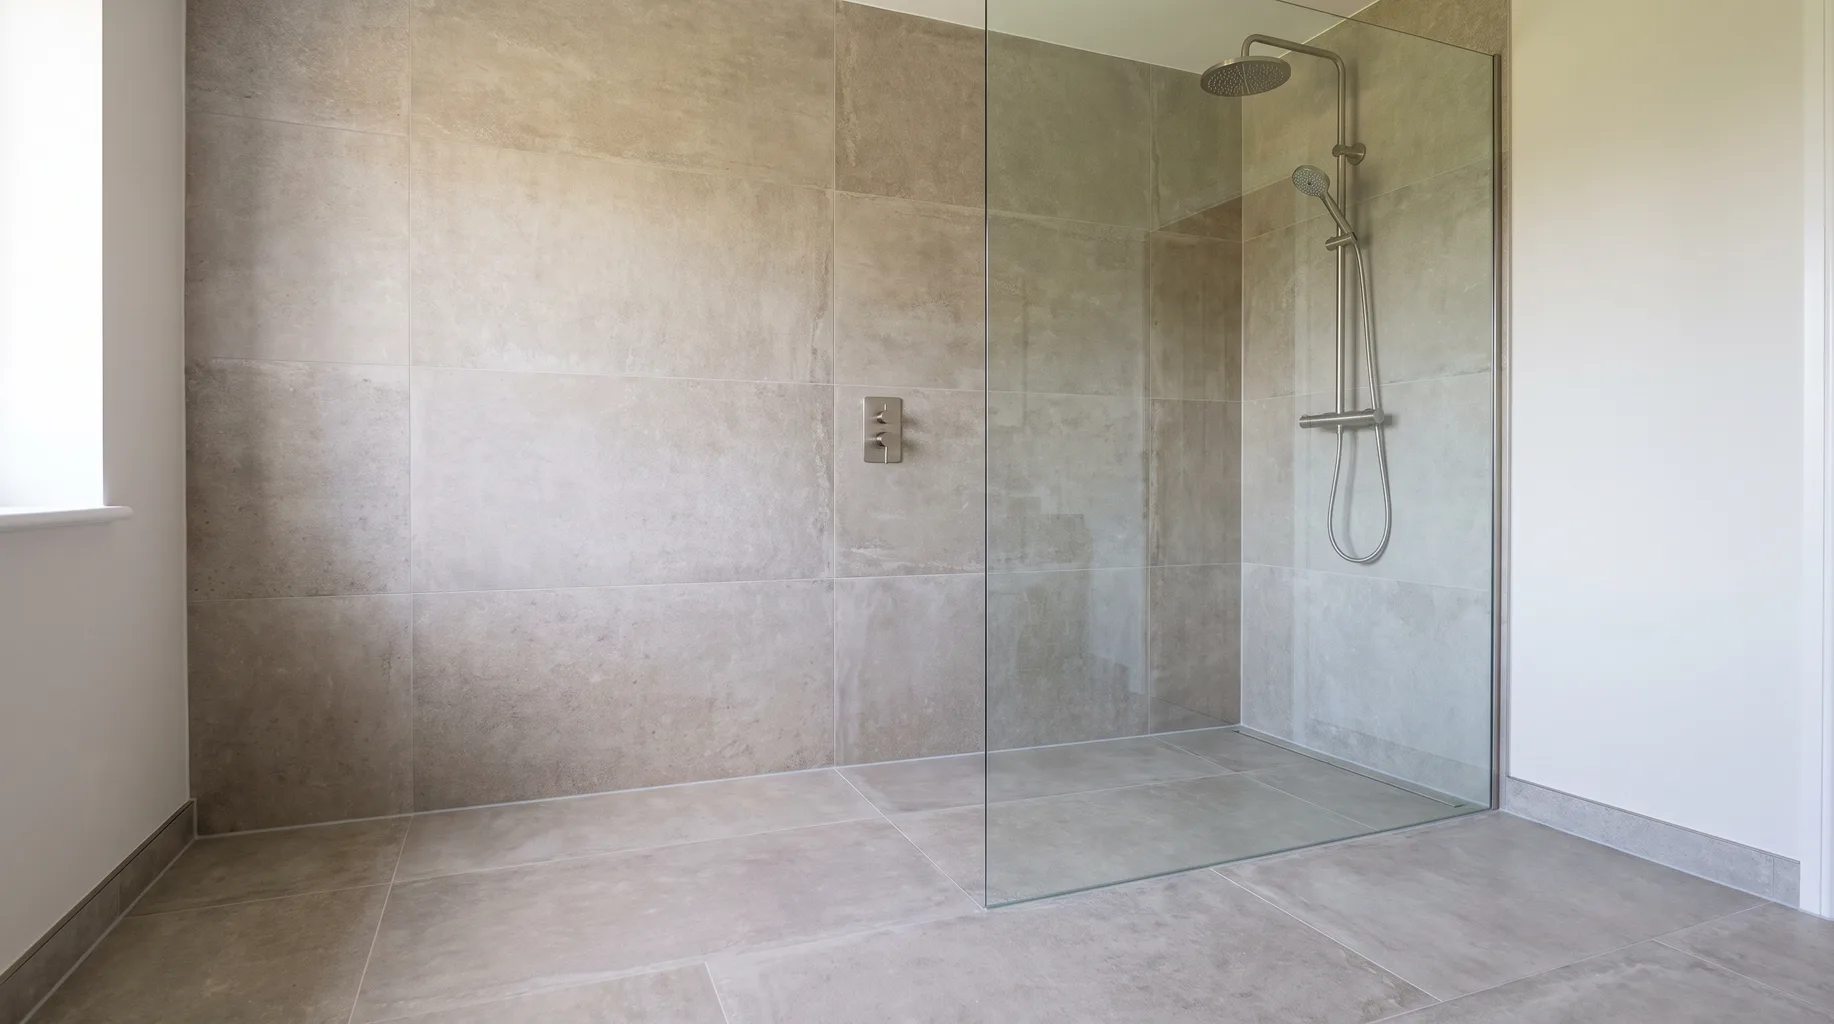
Tanking is a continuous waterproof membrane applied to floors and walls before tiling, stopping water reaching the structure beneath. Coverage and cure times are set by BS 5385 and manufacturer guidance, not by how it's tiled over. A shower needs tanking within its footprint; a wet room needs the whole floor and often the full wall height.
Tiles themselves aren't waterproof — grout joints and the porosity of the tile allow some moisture through over time, and it's the layer beneath that actually keeps water out of the floor and wall structure. Get tanking wrong and the problem rarely shows up straight away; it surfaces months or years later as a damp patch on a ceiling below, a soft floor, or grout that keeps blackening no matter how often it's cleaned. Because the evidence of good tanking is invisible once the room is finished, it's one of the few parts of an installation where the standard genuinely matters more than the finish on top of it.
Coverage by area type
| Area | Typical tanking coverage |
|---|---|
| Shower enclosure floor | Full enclosure footprint plus upstand onto adjoining walls |
| Shower enclosure walls | Full height within the enclosure, typically to ceiling in a cubicle, minimum 1800mm elsewhere |
| Wet room floor | Entire room floor, not just the shower area, with falls formed before the membrane goes on |
| Wet room walls | Often full room perimeter to a minimum height, higher within direct spray zones |
| Bath surround / splashback | Upstand around the bath edge and tap area, less extensive than a shower |
| General floor (bathroom, no shower over) | Decoupling or moisture-resistant membrane at floor level, particularly over timber substrates |
How a tanking system is applied
- 1 Substrate preparation. Surface checked for soundness, cracks and movement, primed where the manufacturer's system requires it.
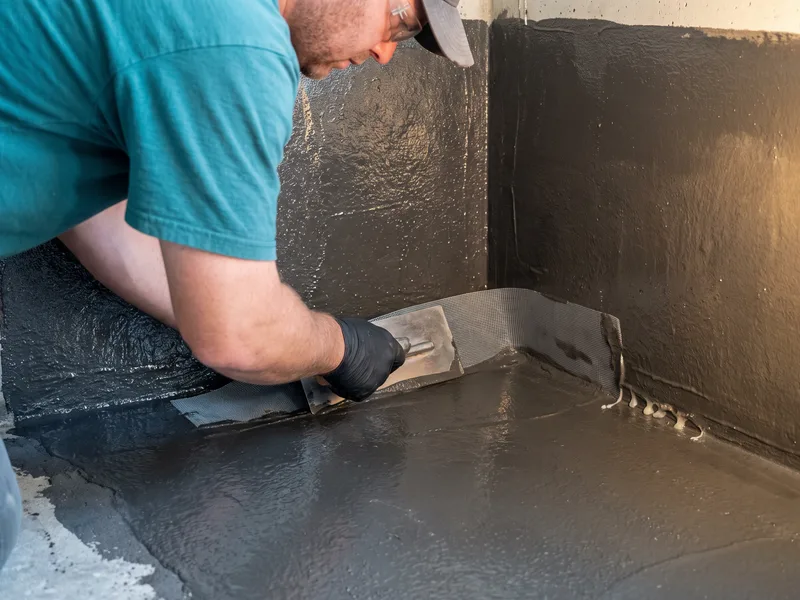
- 2 Corner and junction reinforcement. Waterproof tape or fleece bedded into the membrane at every internal corner, floor-to-wall junction and pipe penetration — these points fail more often than open flat surfaces.
- 3 First coat applied. Liquid membrane rolled or brushed to an even thickness, or sheet membrane bonded, across the full area defined by the coverage requirement.
- 4 Second coat, cross-direction. Applied once the first is touch-dry, usually at right angles to the first pass to eliminate pinholes and thin spots.
- 5 Full cure before tiling. Left for the manufacturer's stated cure time — not rushed to hit a programme date — before any adhesive or tile touches it.
- 6 Flood test where appropriate. On wet room floors in particular, standing water left overnight before tiling confirms there's no leak path to the structure below.
Liquid membrane vs. waterproof tile backer board
A liquid or sheet membrane is applied to an existing substrate — plasterboard, plywood, screed or masonry — once it's prepared, and is the more flexible option where the substrate is sound and the room's geometry is straightforward. A waterproof tile backer board replaces standard plasterboard or floor decking entirely with a pre-waterproofed panel, with joints taped and sealed and penetrations individually treated — a good option where the substrate itself needs replacing anyway, such as during a full strip-out, since it combines the board and the waterproofing into a single fixing stage.
Neither is inherently better; the choice depends on the substrate condition, the room's shape, and the programme. A straightforward rectangular shower enclosure on a sound masonry wall might suit either equally well, while a complex wet room floor with multiple penetrations for waste pipework often favours a liquid membrane's ability to flow into and seal around awkward details more readily than a cut board edge.
Signs of a tanking failure after the fact
Because tanking sits behind the finished surface, failure rarely announces itself where you'd expect. A damp patch or discolouration on a ceiling below a bathroom, grout that darkens and won't lighten again no matter how it's cleaned, a faint musty smell that wasn't there before, or tiles that sound hollow when tapped are all signs worth investigating rather than dismissing as cosmetic. None of these prove a tanking failure on their own, but together, or persisting after cleaning, they're reason enough to have the area properly assessed before the problem spreads to the floor structure itself.
The cost of investigating and, if needed, redoing tanking that's failed is substantially higher than doing it properly the first time, simply because by the time it's noticed, finished tiling, grout and sometimes floor structure have to come out to get at the membrane beneath — which is really the whole argument for not treating this stage of a bathroom installation as one to rush.
Why penetrations and junctions matter more than flat surfaces
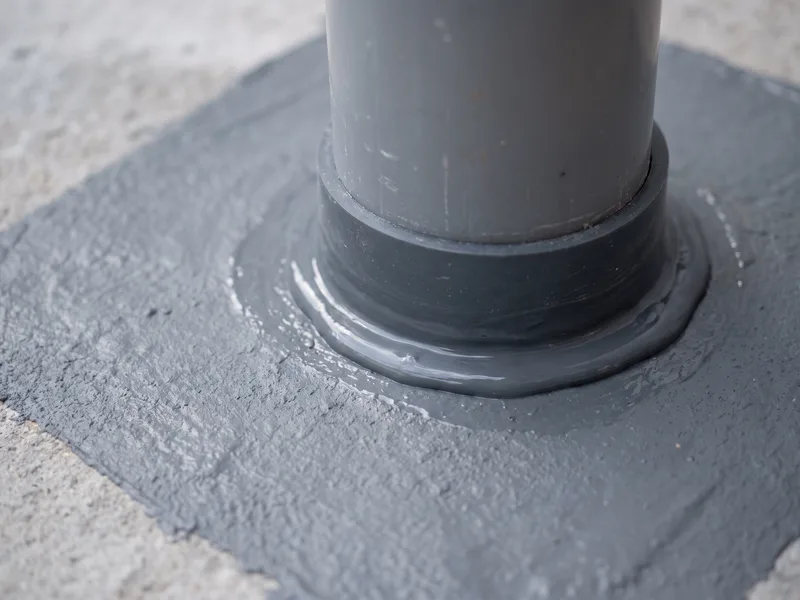
A flat, uninterrupted expanse of floor or wall is the easiest part of any tanking job to get right — roll or brush an even coat, let it cure, move on. Almost every tanking failure we've been asked to investigate over the years traces back to a junction instead: the corner where floor meets wall, the point where a waste pipe passes through the membrane, the gap behind a bath upstand, or the seam where two sheets of membrane overlap. These points need dedicated reinforcement — waterproof tape or fleece bedded into the membrane itself, not just a slightly thicker coat of the same liquid — because they're where the substrate moves slightly, where cuts are made, and where a membrane is most likely to be thinned or missed during application.
This is also why we treat every pipe penetration — waste outlets, supply pipes, any fixing point for a frame or bracket that passes through the tanked zone — individually, sealing around it before the surrounding area is coated, rather than hoping a general coat of membrane will adequately cover an irregular opening. It takes longer than tanking a flat wall, but it's the stage that actually determines whether the room stays dry.
Tanking on timber floors versus solid floors
A solid concrete floor gives a stable, largely static substrate for tanking to bond to, which is one reason ground-floor wet rooms are generally the more straightforward installation. A timber floor moves slightly under load and with changes in humidity, and that movement has to be accommodated rather than ignored — typically through a decoupling layer beneath the tanking membrane, or a tanking system specifically rated for flexible substrates, so that normal floor deflection doesn't crack a rigid membrane over time. This is confirmed at survey against your specific floor build-up, since the wrong assumption here is one of the more consequential mistakes to make before a floor's been opened up for closer inspection.
Sources and standards
Tanking coverage and application referenced here follows BS 5385-1 (ceramic tiling to walls), BS 5385-3 (floor tiling) and BS 5385-4 (tanking and wet rooms specifically). Resistance to moisture penetration through floors and walls follows Building Regulations Part C. Specific cure times and primer requirements follow the manufacturer's data sheet for the membrane system used on your project.
Why we photograph tanking before it's covered
Once tiling goes down, tanking becomes invisible for the working life of the room, which means there's no way to inspect it again without taking the finished surface back up. We photograph the completed, cured membrane before any tile adhesive touches it — covering every wall, the floor, and particularly the corner and penetration details — and keep that record against your project. It's a small additional step that costs nothing in time, but it's the only evidence either of us has, years later, of exactly how the waterproofing beneath a finished floor was actually done, which matters if a future question ever arises about where water might be getting in.
Tanking around baths and vanity units, not just showers
A bath without a shower over it still benefits from tanking at the surrounding upstand and behind the tap area, since splashing from bathing and the occasional overflow test the same junctions as a shower would, just less intensively. A wall-hung vanity unit positioned above a tiled floor doesn't usually need tanking of its own, but the floor beneath and around it still needs the general moisture-resistant treatment appropriate to a bathroom floor, particularly where a water-fed appliance such as a washing machine shares the same room, as is common in a combined bathroom-utility layout in some homes.
None of this needs the same intensity of coverage as a wet room or shower enclosure, but treating a bathroom's non-shower areas as needing zero waterproofing at all is a common oversight worth avoiding, particularly on a ground floor above a cellar or crawl space where any moisture ingress has somewhere unwelcome to travel to.
Related services
Related guides
Areas served
Frequently asked questions
There's no single law mandating a specific tanking system, but Building Regulations Part C requires floors and walls to resist moisture, and tile adhesive and membrane manufacturers make their warranties conditional on tanking being installed to BS 5385 guidance. In practice, it's not optional on a wet area that's done properly.
It depends on the system, but most liquid membranes need each coat touch-dry before the next, and full cure — typically 24 to 48 hours per coat, more in cold or humid conditions — before tiling begins. We follow the manufacturer's data sheet for the specific product used, not a generic timeline.
A walk-in shower or enclosure needs tanking within its footprint and a surrounding splash zone; a wet room needs the full floor and often the full wall height. A bathroom with a bath and no shower over it needs less, but splashback zones around basins and baths still benefit from it.
Not reliably. Old tiles and adhesive can trap moisture or delaminate once compressed under a new membrane, and most tanking systems specify a sound, primed substrate. We strip back to a stable surface before tanking rather than build over an unknown base.
A liquid or sheet membrane is painted or bonded directly to the existing substrate; a waterproof tile backer board is a pre-waterproofed panel fixed in place of standard plasterboard, with joints and penetrations sealed separately. Both meet the same end requirement — a continuous waterproof layer — by different methods, and we choose based on the substrate and programme.
You largely have to trust the process, which is why the sequence matters — pressure-testing waste connections before boarding, photographing the tanked surface before it's covered, and never tiling over a membrane that hasn't fully cured. We document this stage so there's a record if it's ever needed.
Written by the Install My Bathroom installation team — 30 years fitting high-end bathrooms.
Last updated: 2026-10-05