
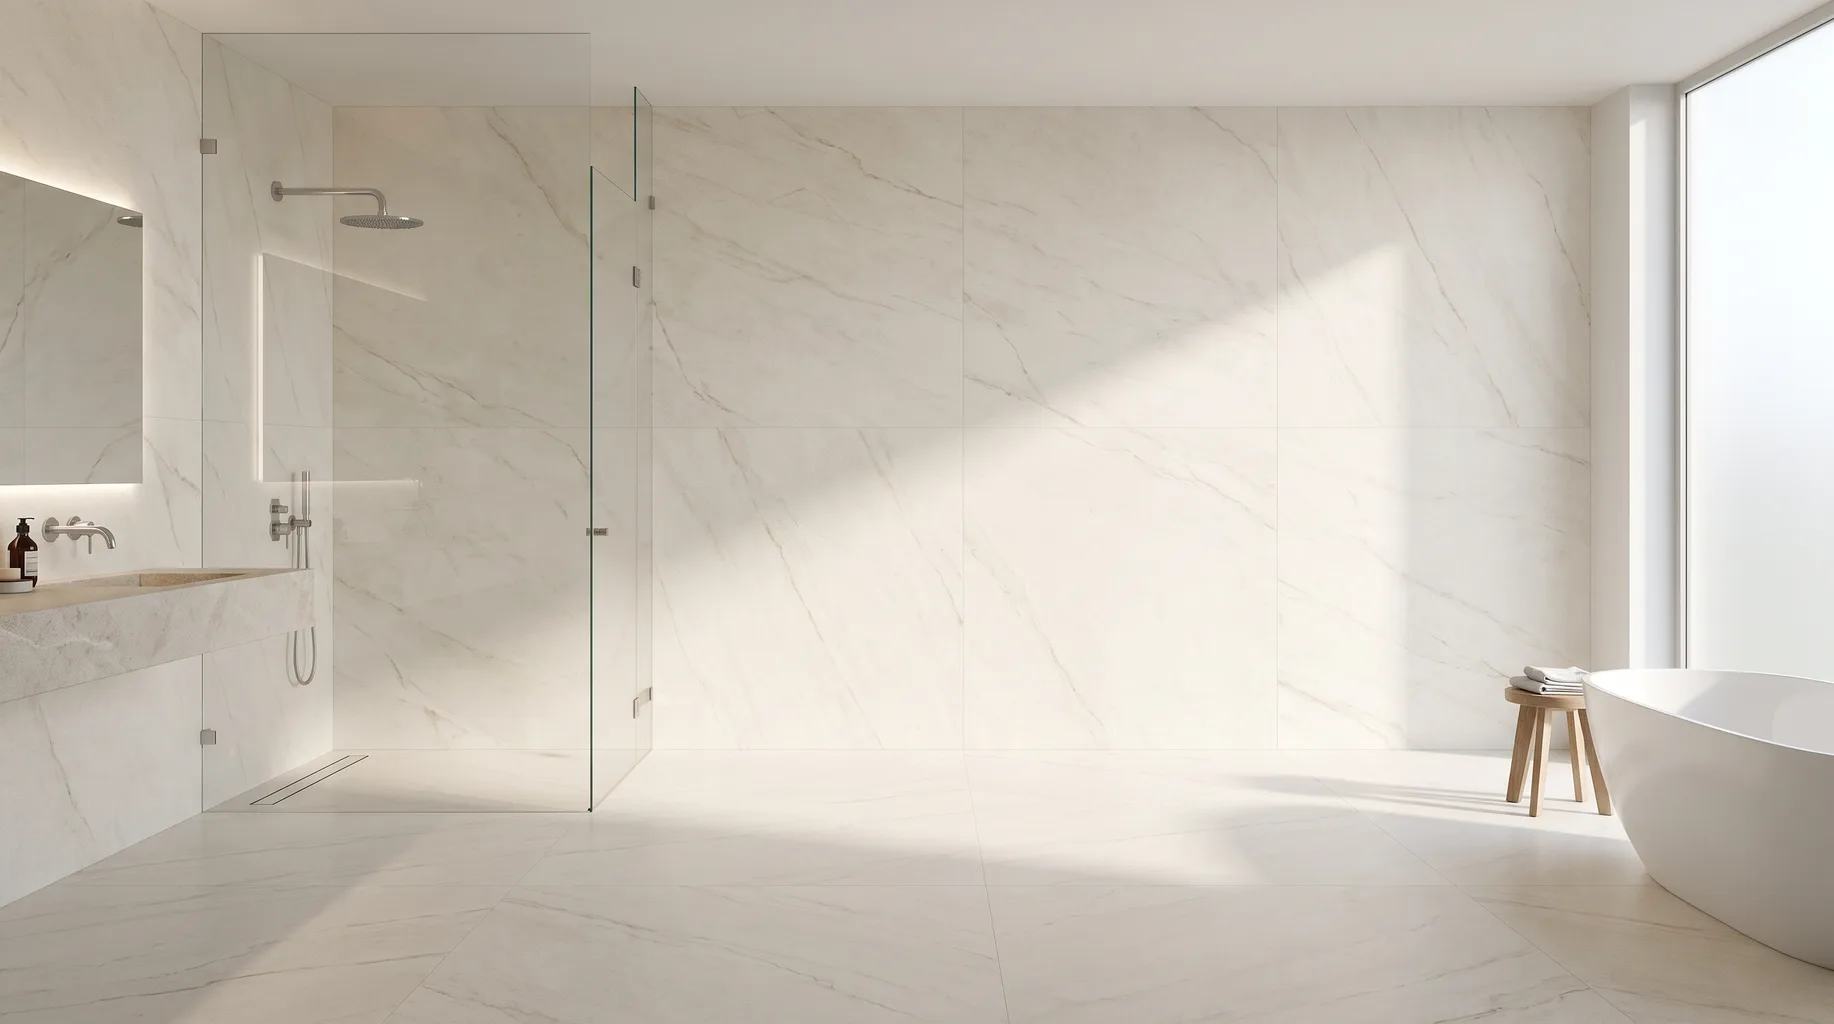
Large Format Porcelain Tiling
Large format porcelain rewards a flat substrate, full-coverage adhesive and patient set-out — and punishes shortcuts on any of the three with visible lippage and open joints. Checked row by row against level, from £3,500.
The appeal of large format porcelain is the minimal joint count and the continuous, uninterrupted surface it gives a bathroom. The difficulty is that every imperfection in the substrate beneath it is magnified rather than hidden, because there's no small tile edge to absorb a slight dip or rise. Getting it right is almost entirely about what happens before the first slab goes up, which is why we spend longer at survey and first fix on a large-format job than we would preparing for a standard tile size.
What's included
Large format tiling is rarely a stand-alone job — it's usually one stage within a full bathroom installation, following strip-out and tanking and preceding second fix. The scope below is specific to the tiling stage itself, from substrate check through to final inspection.
- — Substrate flatness survey against the tile manufacturer's tolerance for the chosen size
- — Levelling compound or boarding where the substrate falls outside tolerance
- — Set-out planning from centre lines so cut tiles fall evenly and joints line through floor to wall
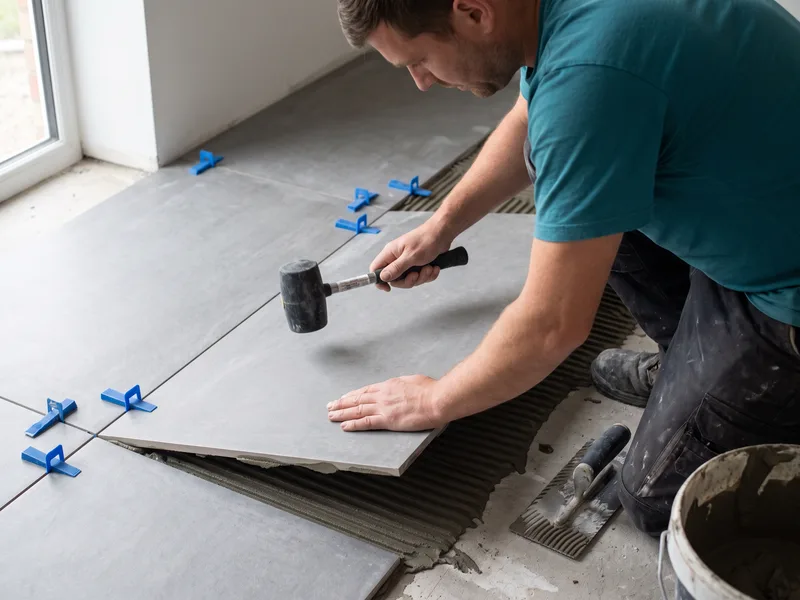
- — Full-coverage back-buttering of every tile with a deformable, large-format-rated adhesive
- — Levelling clip system used row by row to control lippage as tiles are laid
- — Movement joints positioned where required, not simply grouted through
- — Grouting, sealing and a final inspection for lippage, hollow spots and joint consistency
Why substrate flatness matters more at large format
A standard 300x300mm tile can sit on a substrate with a few millimetres of variation without it being obvious — the tile's small footprint means a dip simply shows as a slightly thicker adhesive bed in one corner, invisible once grouted. A 1200x600mm slab spanning the same dip has nowhere to hide: one end sits proud, the other low, and the resulting lippage catches light along the entire joint length, especially under the raking light of a bathroom spotlight or window.
We measure substrate flatness at survey using a straight edge across multiple points on the floor and each wall, and compare it against the flatness tolerance specified for the tile size you're planning to use. Where it's outside tolerance — which is common on older floors and walls that have settled or been patched over the years — we level it with a self-levelling compound or a dedicated tile backer board before tiling starts, rather than trying to compensate with adhesive thickness alone, which large slabs don't forgive.
How it runs
- 1 Survey (£125). Substrate flatness, room dimensions and tile layout are checked against your chosen slab size.
- 2 Substrate preparation. Levelling compound or backer board is applied wherever flatness falls outside tolerance.
- 3 Set-out and dry layout. Centre lines are established and a dry run checks cut sizes before a single tile is fixed.
- 4 Fixing with levelling clips. Each slab is back-buttered and laid with clips controlling lippage row by row.
- 5 Grouting and inspection. Clips are removed, joints grouted, and the full surface checked for lippage, hollow spots and consistency.
Technical standards
Tiling follows BS 5385 guidance for wall and floor tiling, with adhesive selected and applied according to the manufacturer's specification for the tile size and location — a deformable, high-performance adhesive rated for large and heavy-format tile, applied by both notched trowel to the substrate and back-buttered to the tile itself, so coverage beneath each slab is as close to complete as practically achievable. Partial coverage leaves voids that can crack under point load, such as a dropped bottle in a shower tray or a chair leg on a floor.
Levelling clips are used throughout to control lippage between adjacent tiles, checked and adjusted as each row goes down rather than assessed only once the whole area is laid. Movement joints are positioned at junctions between different substrates, around the room's perimeter, and at manufacturer-specified intervals across larger continuous areas — they're not an optional extra, and grouting straight through one is a recognised cause of cracked tile at that joint later.
Set-out is planned from the room's centre lines before any adhesive is mixed, so cut tiles land symmetrically at the room's edges and tile joints line through consistently from floor to wall rather than being forced into an uneven pattern dictated by where the first full tile happened to land.
Floor tiles in wet areas are selected and laid with an appropriate slip resistance rating for a wet environment, separate from the finish chosen for dry areas of the same bathroom — a highly polished large-format porcelain that looks striking on a dry hallway floor is rarely the right specification for the base of a shower or a wet room, and we'll flag this at survey if your chosen tile isn't suited to the zone you want it in.
Handling and cutting large slabs
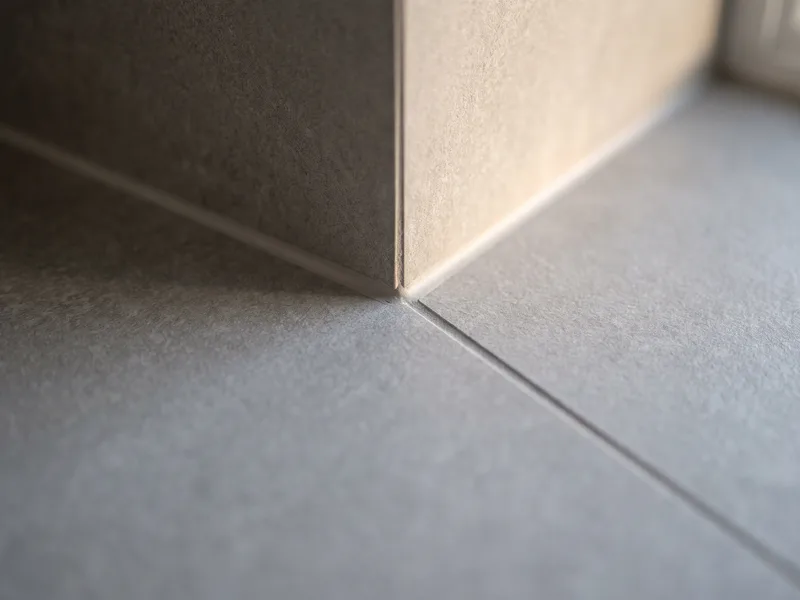
Beyond substrate preparation, the practical difficulty with large format porcelain is simply moving and cutting it without damage. A 1200x600mm or larger slab weighs considerably more than its surface area suggests and flexes under its own weight if carried or supported incorrectly, which is a common cause of hairline cracks that only show up after installation, once the tile's under load. We carry and store slabs flat or on edge with full support, never stacked loosely against a wall, and always move them with two people.
Cutting is done with a wet saw suited to the tile's thickness and hardness, with the cut edge checked for chipping before the tile is fixed — a chipped edge on a large, highly visible slab is far more noticeable than the same chip on a small tile tucked into a pattern. Niches, window reveals and internal corners are planned at the dry-layout stage so cuts fall in the least visible position, typically away from eye level or at a room's less prominent edge.
What affects the price
The biggest cost driver is substrate condition — a flat, sound floor and walls needing only minimal preparation costs considerably less to tile than one needing significant levelling first. Tile size also matters: the largest slabs need two people to handle safely and take longer per square metre to lay than mid-size large format. Complex layouts with niches, feature walls, book-matched patterns or mitred edges all add time too, since each of those details slows down set-out and cutting compared with a straightforward run of full tiles. We confirm the specifics at survey once your tile choice and the room's condition are both known.
What you supply
The tiles themselves, including any trims, are bought by you. Order from a single batch number where possible, since porcelain colour and tone can vary slightly between production runs, and mixing batches on a continuous large-format surface is far more visible than it would be on smaller tile — a difference easy to miss under a showroom's bright, even lighting but obvious once laid under a bathroom's mix of daylight and spotlights. Order a sensible overage — typically 10% beyond the measured area — to allow for cuts and breakages without a second order delaying the job mid-installation.
Check tiles on delivery for consistent batch number, correct size, and transit damage before we arrive — large slabs are more prone to cracking in transit than small tiles, and a cracked slab discovered only once we're on site, where it causes a return visit, is chargeable.
Unpack and inspect a few tiles from different pallets or crates rather than just the top layer, since damage from transit tends to concentrate at the edges and corners of a stack. Store tiles flat, indoors, and off the floor until we arrive — large slabs left leaning against a wall for an extended period are more prone to the kind of stress cracking that only becomes visible once they're cut or fixed.
Related services
Related guides
Areas served
Frequently asked questions
Generally anything from around 600x600mm upward, including the large-scale slabs now common in luxury bathrooms that can run 1200x600mm or more. Above a certain size, standard tiling tools and techniques stop being adequate — handling, adhesive coverage and substrate flatness all need a different approach.
A small tile can flex slightly to sit on an uneven substrate without visible distortion. A large slab can't — any dip or hump in the substrate shows up as lippage or a visible rock across the tile's full length. We check substrate flatness at survey and build up or level it before tiling starts where it falls outside tolerance.
Lippage is a height difference between the edges of adjacent tiles — even a millimetre or two is visible on a large, reflective porcelain surface and catches light differently across the joint. We check lippage with levelling clips as each row goes down, not after the whole floor or wall is finished and any correction means taking tiles back up.
Yes, and increasingly they're specified for both to create a continuous, joint-minimised look. Floor applications need slip resistance considered alongside the aesthetic, particularly around a shower area — we'll discuss the right finish for wet zones versus dry areas at survey.
Generally longer per square metre, because large slabs need two people to handle and place safely, full-coverage back-buttering, and more careful substrate preparation. A bathroom's walls and floor in large format typically take a day or two longer than the same room in standard-size tile.
Yes — a high-performance, deformable adhesive rated for large and heavy tiles is required, applied with full-coverage back-buttering rather than a simple notched-trowel bed on the substrate alone, to avoid voids beneath the tile that can later cause cracking under point load.
Occasionally, if the existing tiling is sound, flat and well-bonded, with an appropriate primer and flexible adhesive specified for tile-on-tile fixing. In most bathrooms we'd still recommend removing the existing tile, since it lets us check and address the substrate and any tanking underneath — something that can't be done once a new layer is bonded on top.