
Porcelanosa Installation
Porcelanosa's large-format porcelain is dense, rectified and dimensionally precise — which is exactly why it punishes an uneven substrate or an inconsistent joint far more visibly than a smaller, more forgiving tile would. Fitting it well is a matter of tolerance, not taste: the floor or wall is checked and prepared flat first, then the tile is set with the correct bed coverage, joint width and lippage control to let the material's own precision show through.
What we install from the range
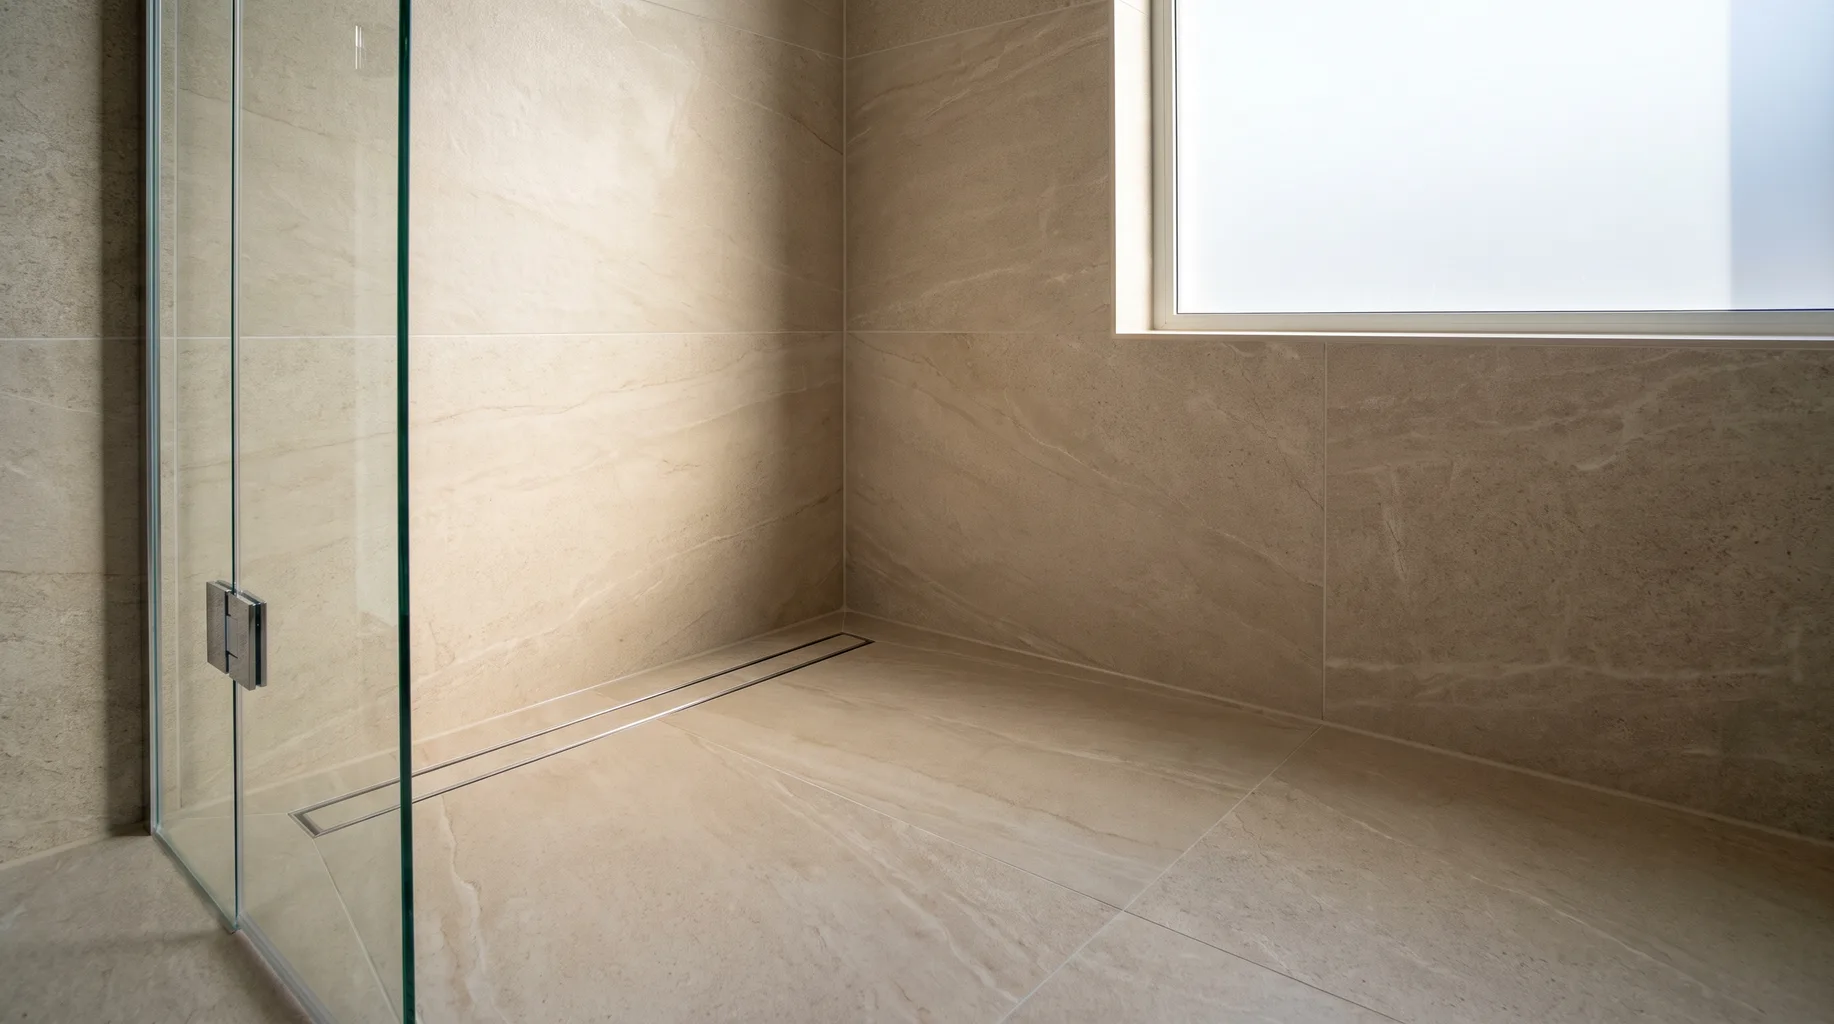
We fit Porcelanosa's large-format porcelain in stone-look, marble-look and plain finishes, across floors, feature walls, full wet-area tiling, and shower enclosures and niches. Porcelanosa's porcelain ranges typically run in large rectangular and square formats with rectified edges, which allow tighter joint widths and a more continuous surface than a traditional ceramic tile.
The tiles we fit from Porcelanosa are specified and purchased by the client through a Porcelanosa showroom or authorised stockist. We don't supply or sell tiling ourselves — our work starts once the tiles, trims and adhesive are on site and the substrate is ready to be checked. Porcelanosa's wider product lines also include coordinated vanity furniture and sanitaryware, which some clients choose to specify alongside the tiling for a consistent palette across the room; we're happy to fit these alongside the tiling programme as part of the same job.
Installation requirements
- — Substrate flatness: large-format tile can't mask an out-of-tolerance wall or floor, so flatness is checked at survey against the tile size and corrected before tiling starts.
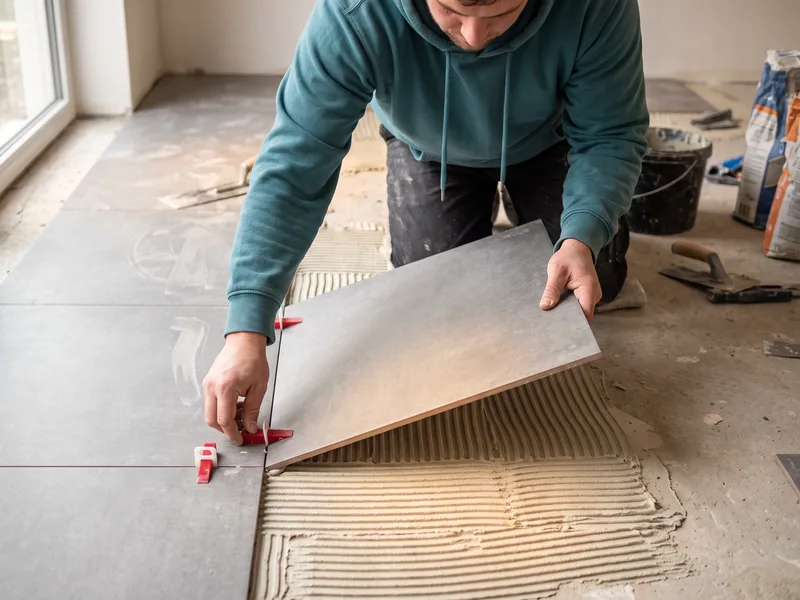
- — Full bed coverage: large-notch trowel application combined with back-buttering achieves full adhesive coverage under the tile, avoiding hollow spots that show as drumming when tapped and risk cracking under load.
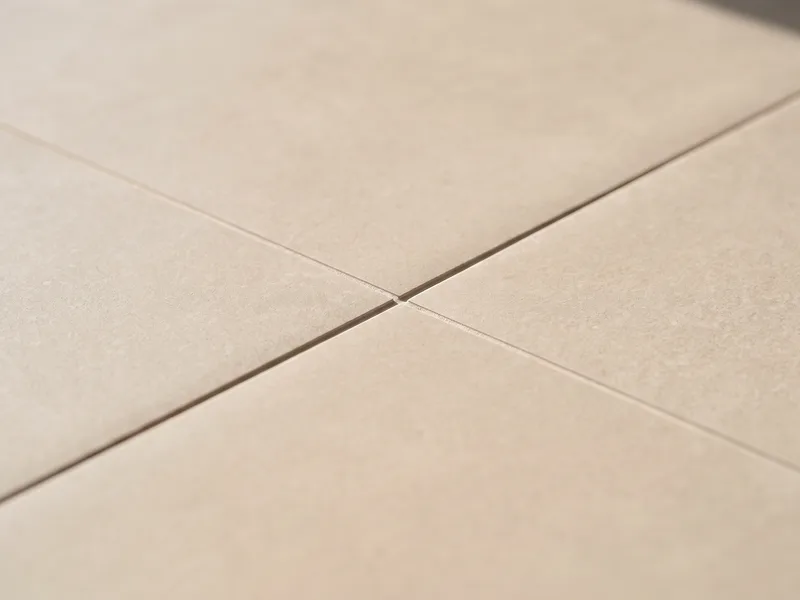
- — Lippage control: tile-levelling clips or spacers hold adjoining tile edges flush during setting so the finished surface reads as one continuous plane, particularly on a rectified-edge format.
- — Movement joints: movement joints are built in at perimeters and across large continuous runs in line with tiling industry standards, so the tiling can expand and contract without cracking.
- — Falls to drain in wet areas: shower floors and wet rooms need the correct fall built into the screed before tiling, since porcelain's rigidity means a poor fall shows as standing water rather than self-correcting.
What to check on delivery
Check that every box carries the same batch or shade number before tiling begins — porcelain can vary subtly in tone between production batches, and mixing batches on a single floor or wall is visible once grouted. Count the total area delivered against the room's actual area plus a reasonable cutting allowance, since a shortfall discovered mid-job can mean a delay waiting on a matching batch. Inspect a sample of tiles from different boxes for chips, warping or edge damage, and confirm trims, edge profiles and any matching mosaic or feature pieces are included if specified. These checks take a short time against the delay of pausing a job partway through to source a matching batch.
Common issues we prevent
The fault we most often see on other people's large-format tiling is lippage — adjoining tile edges sitting at slightly different heights, catching light and visible to the touch. It's almost always the result of skipping levelling clips or rushing the bed coverage, both of which take real time to do properly. We use levelling systems on every large-format job and don't shortcut bed coverage to save time.
The second is cracked tiles appearing months after a job finishes, usually traced back to hollow spots under the tile from incomplete adhesive coverage, or a missing movement joint at a perimeter. Both are invisible at handover and only show up under load or thermal movement later, which is why we check coverage by sound and feel as we go, not just at the end of the day. Neither fault is quick to fix retrospectively, since both require lifting the affected tile and reworking the bed beneath it, which is exactly why we build the checks into the process rather than the aftercare.
Setting out the layout before cutting a single tile
With large-format porcelain, the set-out decision made before cutting starts affects how the whole room reads once finished — where the first full tile sits relative to the door, how joints line through from floor to wall, and how narrow cuts are avoided at visible edges. We dry-lay or chalk out the layout against the room's actual dimensions before adhesive goes down, adjusting the start point so cuts fall in less prominent positions rather than centred on a feature wall by accident.
Where floor and wall tiling meet — at a shower threshold, a niche, or a bath panel — we plan the joint lines to continue through from one surface to the other wherever the format allows, which is a detail that takes longer to set out but reads as considerably more considered once grouted.
Protecting finished tiling through the rest of the build
Large-format porcelain floors are usually one of the earlier finishes completed in a bathroom build, which means they're exposed to subsequent trades — fitting the vanity unit, hanging doors, final electrics — for some time afterwards. We lay protective boarding over finished flooring immediately after grouting and curing, and we keep it in place until the room is handed over, rather than removing it as soon as the floor looks dry.
Grout joints in particular need time to cure fully before they're exposed to standing water or heavy traffic, so we also agree a realistic handover date with the client that respects the product manufacturer's curing guidance, rather than rushing a shower into use the same week the floor is laid.
Frequently asked questions
Large-format porcelain generally needs a large-notch trowel and a flexible, high-coverage adhesive applied to both the tile back and the substrate — a technique called back-buttering combined with floating — to achieve full bed coverage and avoid hollow spots. We select trowel and adhesive against the specific tile size and format.
Yes. Larger formats are less forgiving of an uneven substrate because the tile itself can't flex to hide dips or high spots — an out-of-tolerance wall or floor reads as visible lippage once tiled. We check substrate flatness at survey and prepare or level it before tiling starts.
Yes, with the right equipment — a wet saw suited to porcelain and diamond core bits for fittings and waste cut-outs. Porcelain is dense and can chip or crack under the wrong cutting method, so edges and cut-outs are finished to the same standard as the factory edge.
Yes — joint width is set to the tile's actual size tolerance (its rectified or non-rectified edge) and kept consistent across the room, since an inconsistent joint is one of the most visible faults on a large-format floor or wall.
Porcelanosa tiles are purchased by the client through a Porcelanosa showroom or authorised stockist. We don't supply tiles ourselves — we fit what you've ordered, checked and delivered to site. We're happy to confirm quantities and format suitability against your room's dimensions before you place the order.
No. We're an independent fit-only installer with no commercial relationship with Porcelanosa. We install the tiling our clients purchase themselves.
We generally recommend an allowance of around ten percent above the measured area for cutting waste, pattern matching and future repairs, though this can be higher on a room with a lot of cuts, niches or a diagonal layout. We confirm the exact allowance against your room's specific layout at survey.
Yes, and running the same tile from floor to wall is a common way to make a small wet room or ensuite feel larger. Floor and wall tiles from the same range sometimes differ in slip rating or thickness, so we confirm the correct floor-rated product is used underfoot.
Install My Bathroom is an independent fit-only installer. We are not affiliated with, sponsored by, or endorsed by Porcelanosa; all product names and trademarks belong to their respective owners.